Before you start
Uninstall any other FTL mods before proceeding!
NOTE
This guide assumes the GoG installed version and that it’s installed to ~/GOG Games/FTL Advanced Edition (the GOG Games folder in your user’s home directory) If you are using the Humble Bundle version or have installed the GOG version somewhere else the instructions are exactly the same but obviously the game’s location may differ.
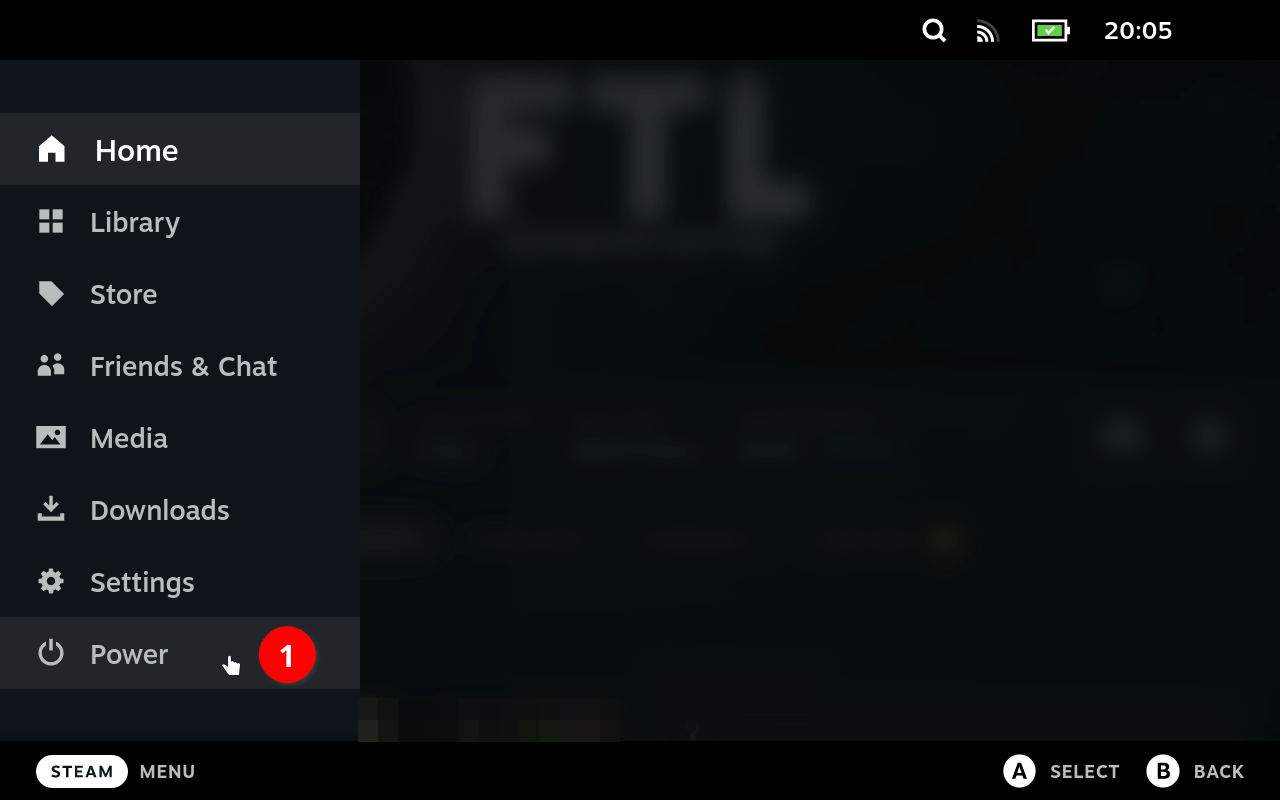
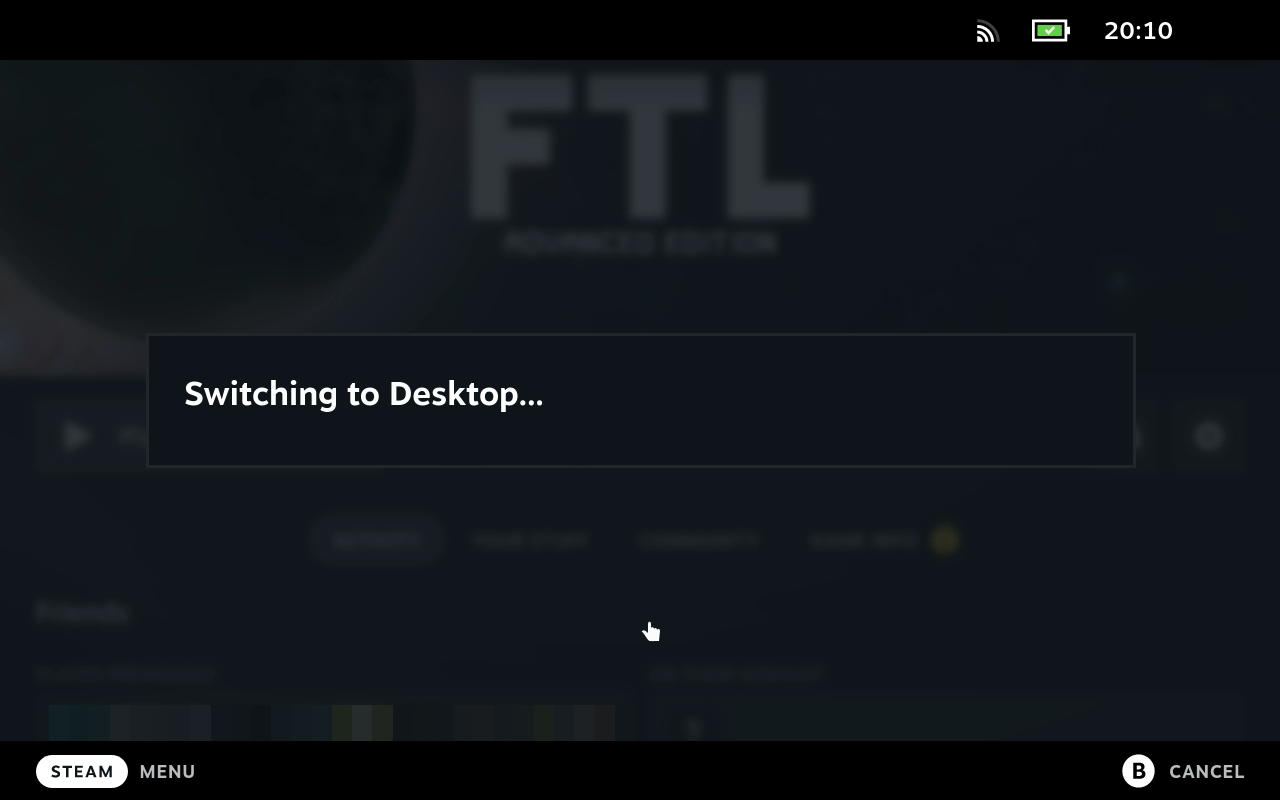
- Switch the SteamDeck into desktop mode

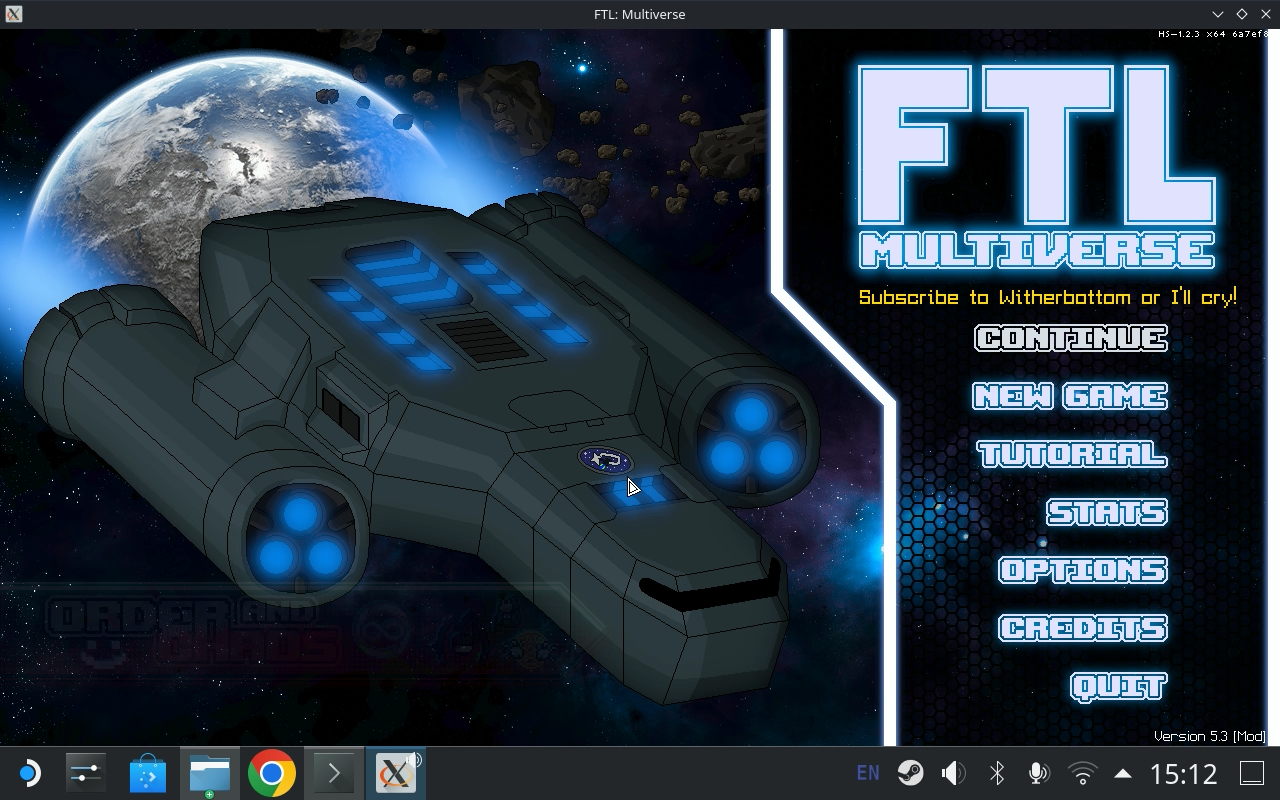
- Launch FTL to make sure you’re running the correct version
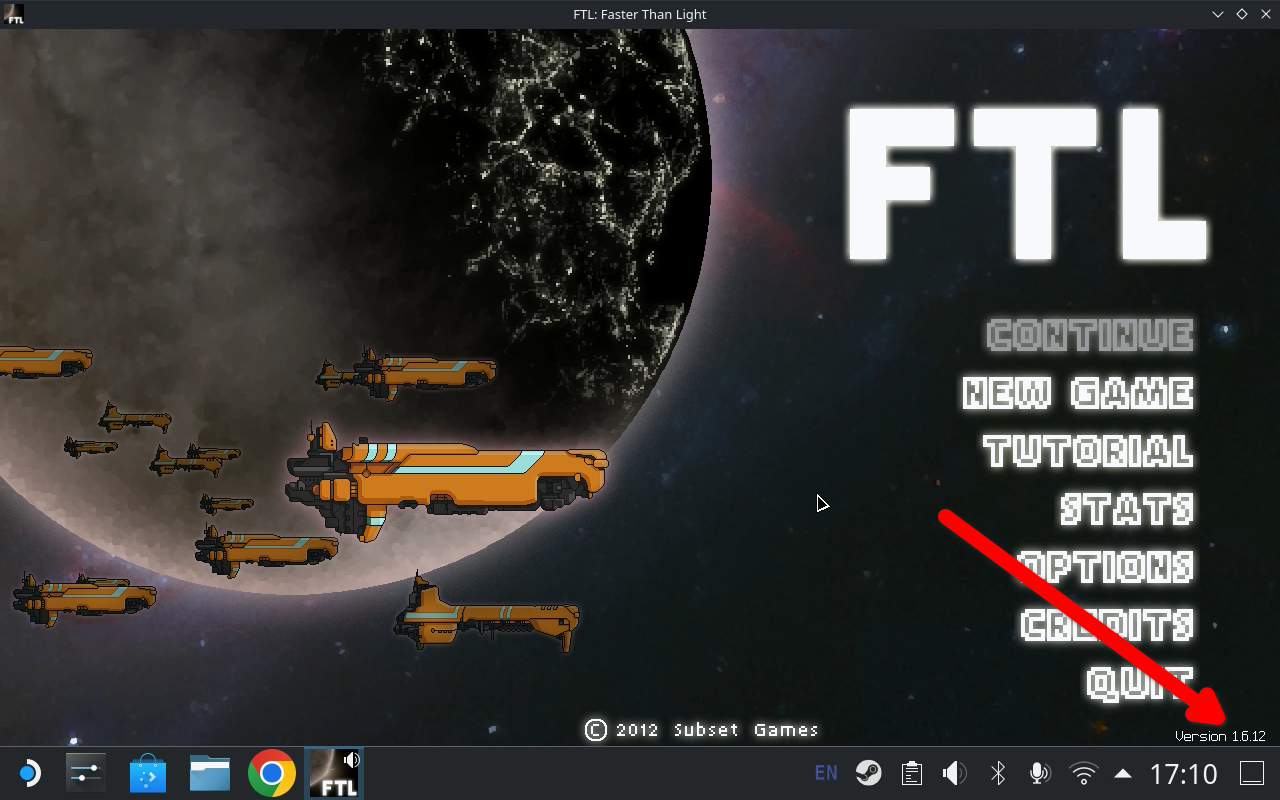
- Ensure the version says
1.6.12in the lower right.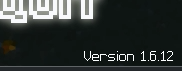
- Navigate to this install guide from your Steam Deck if you haven’t already in order to download the files in the next steps
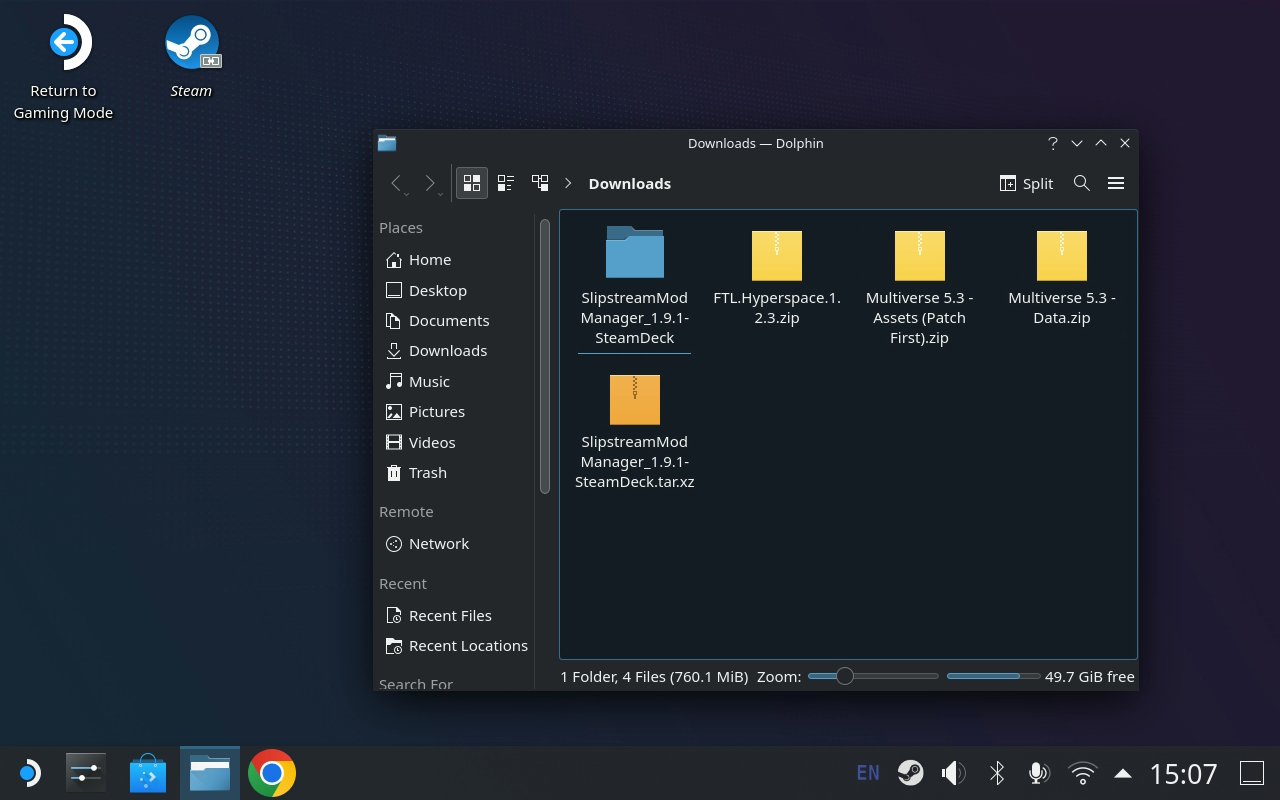
- Download Hyperspace
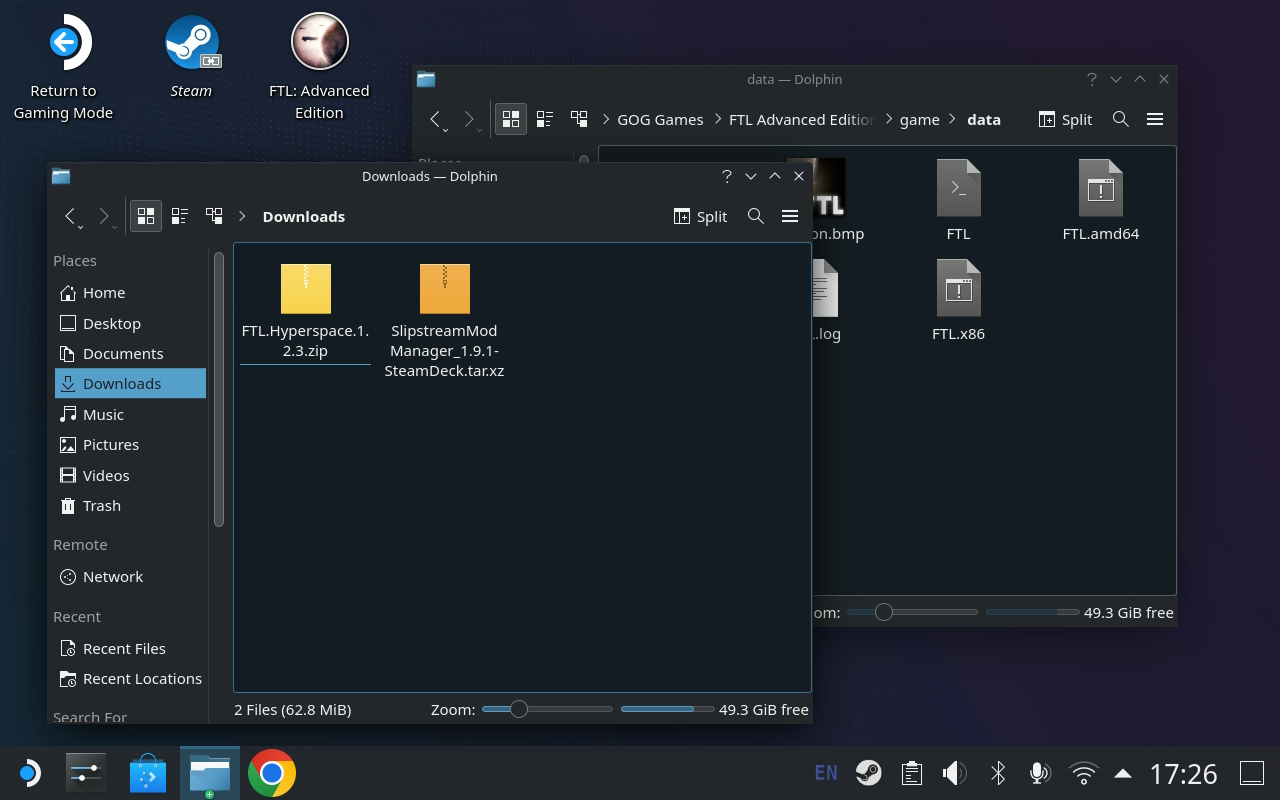
FTL-Hyperspace.x.x.x.zipfrom here onto the deck’sDownloadsfolder Do not extract this ZIP yet - Download Slipstream packaged for the SteamDeck, here onto the deck’s
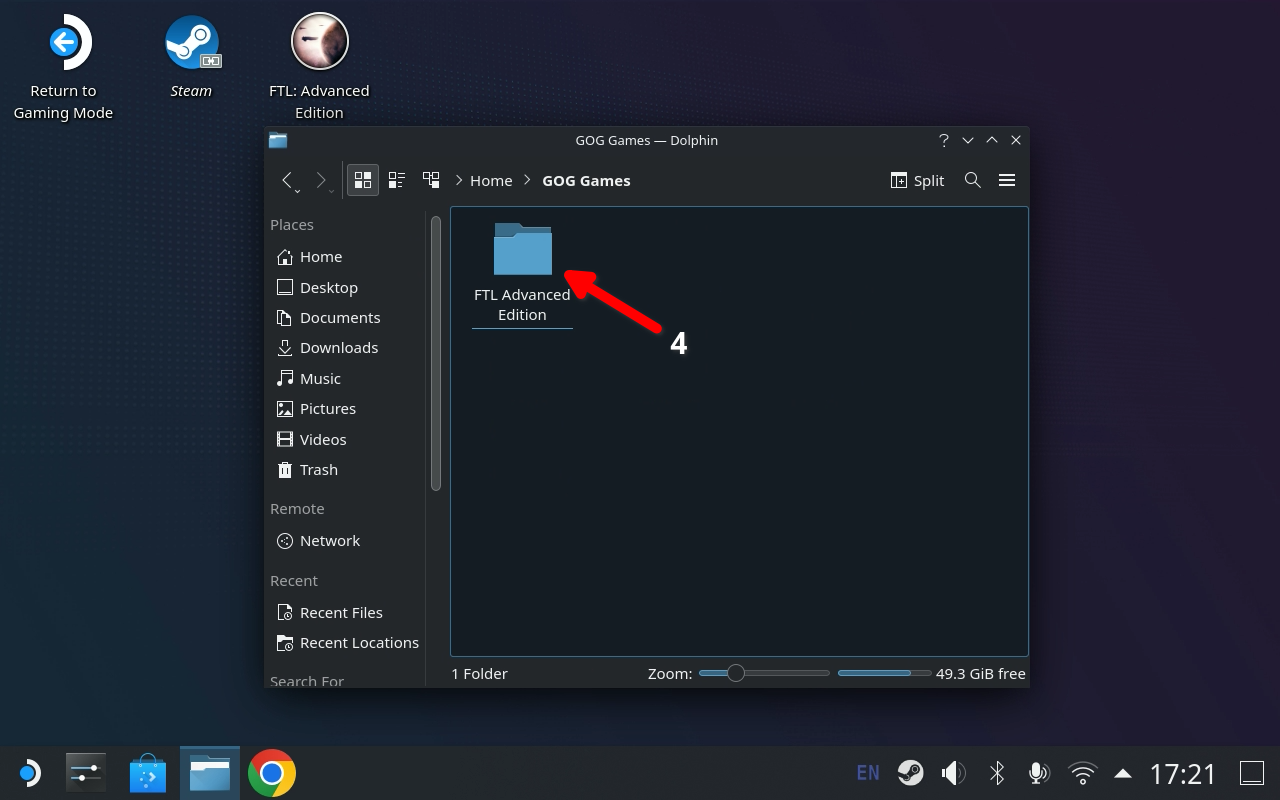
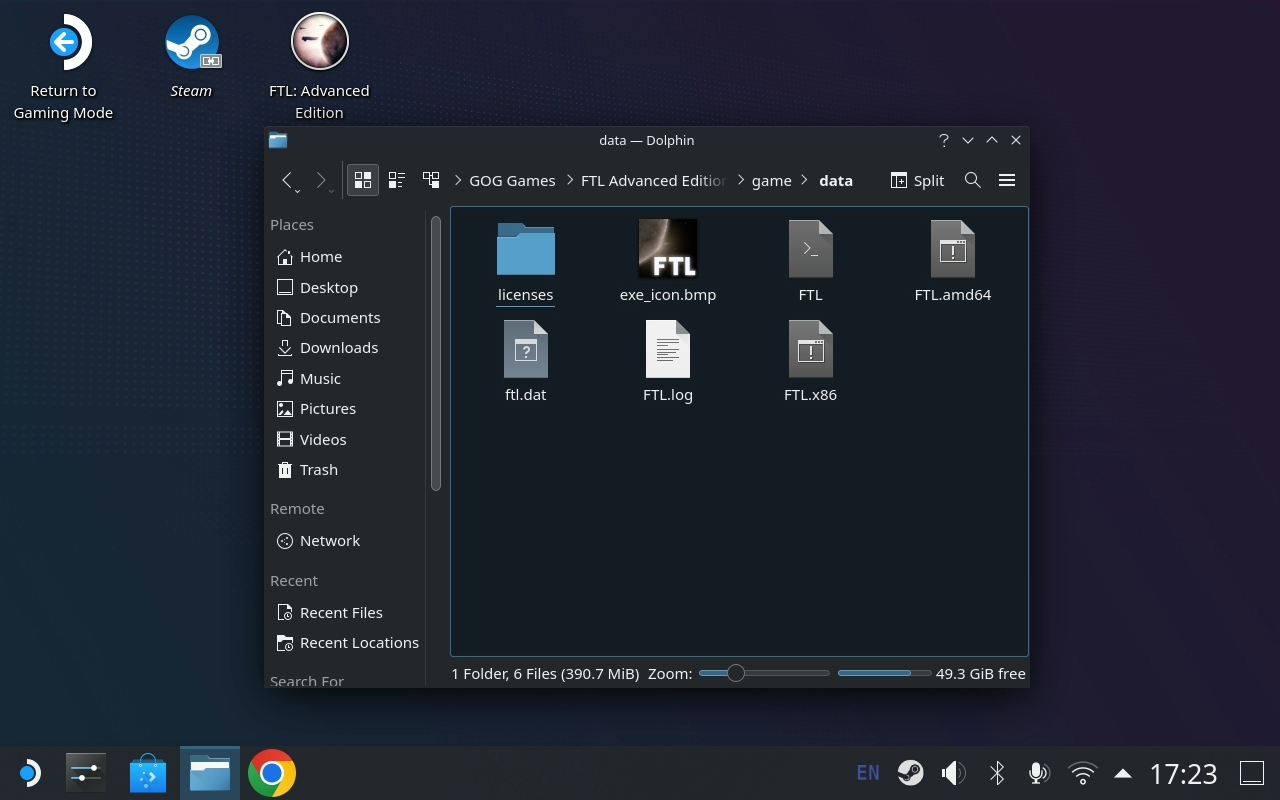
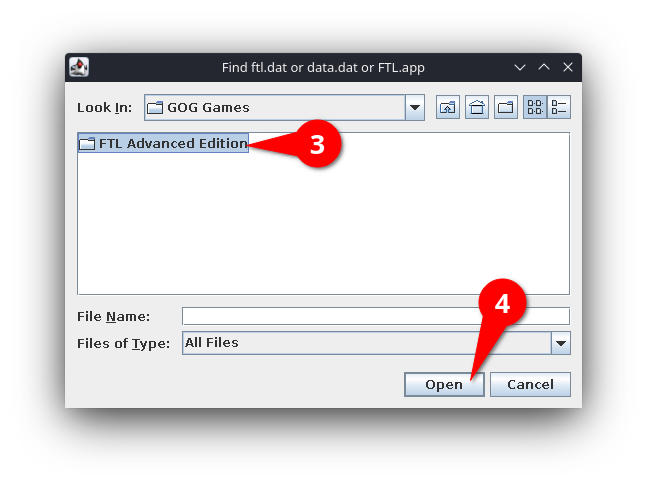
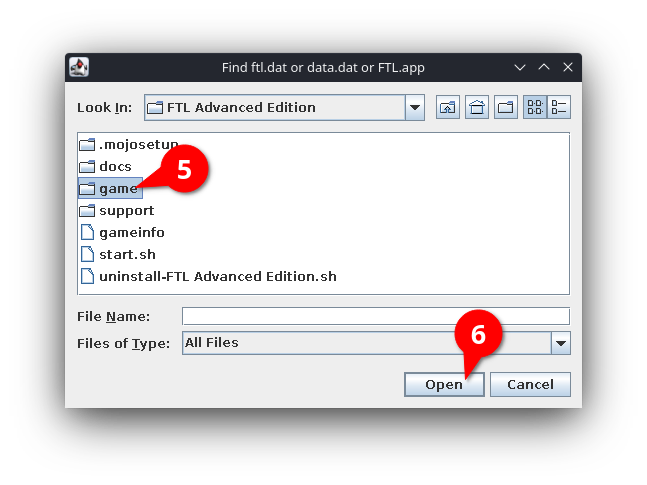
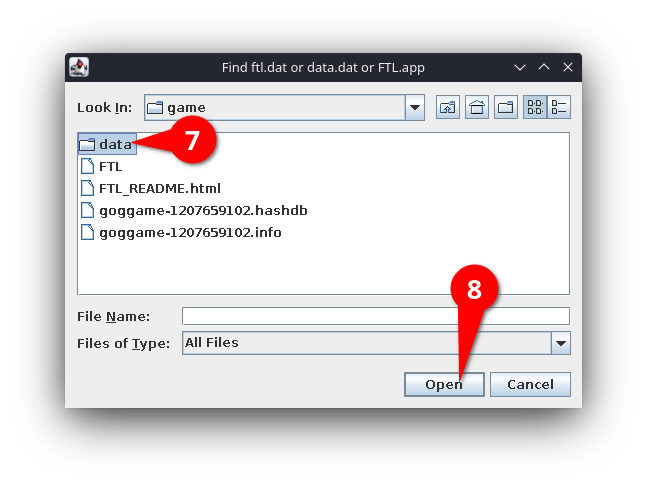
Downloadsfolder Do not extract this tar.xz yet - Open Dolphin (file browser) and navigate to the FTL install folder and into the game & data folders
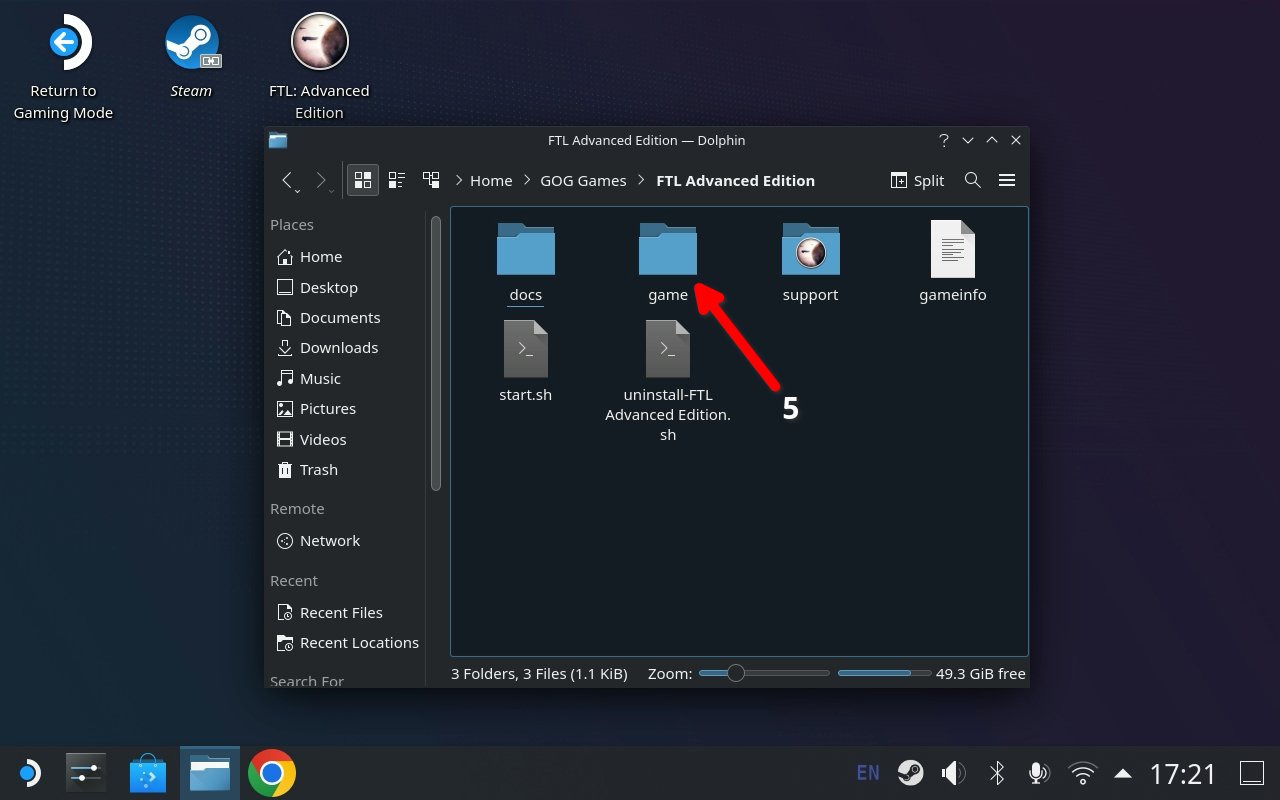
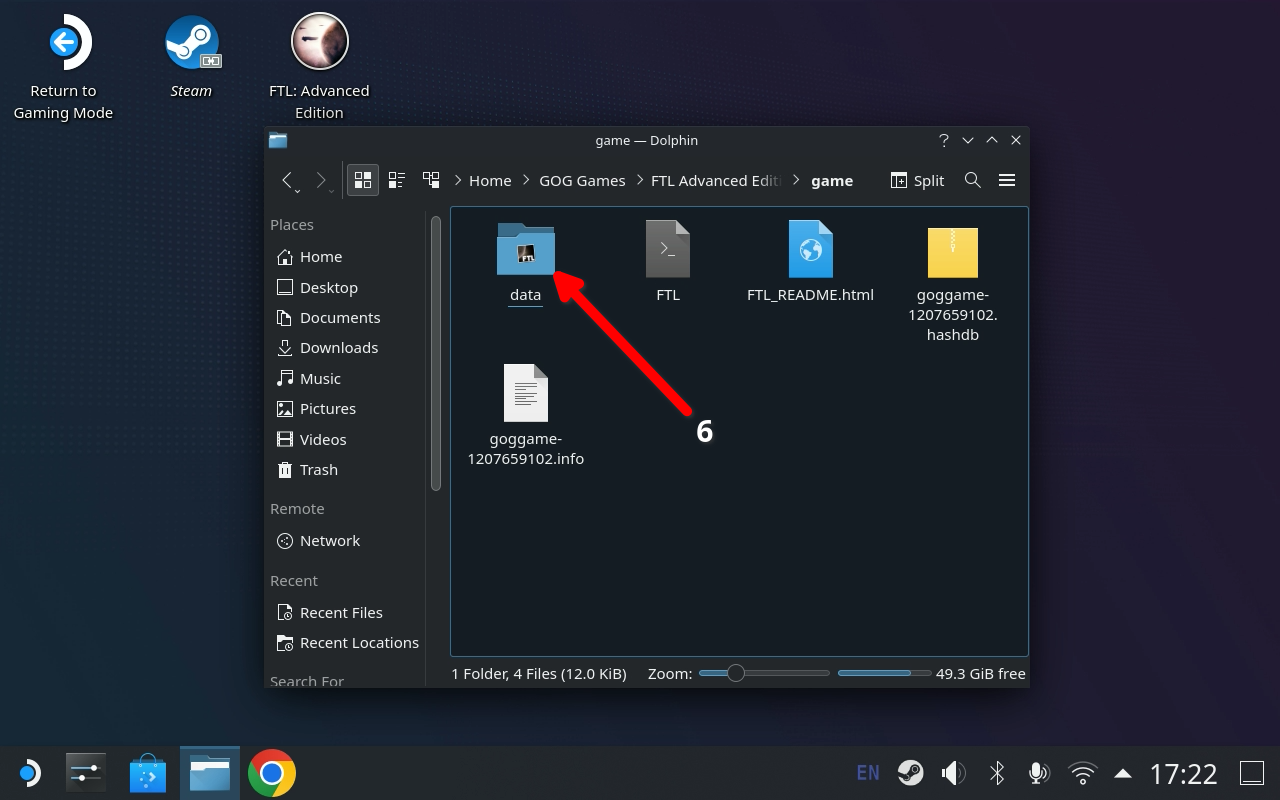
- It should look like this, for an unmodified vanilla install
- Open the Downloads folder in a new window where we previously downloaded Hyperspace & Slipstream to
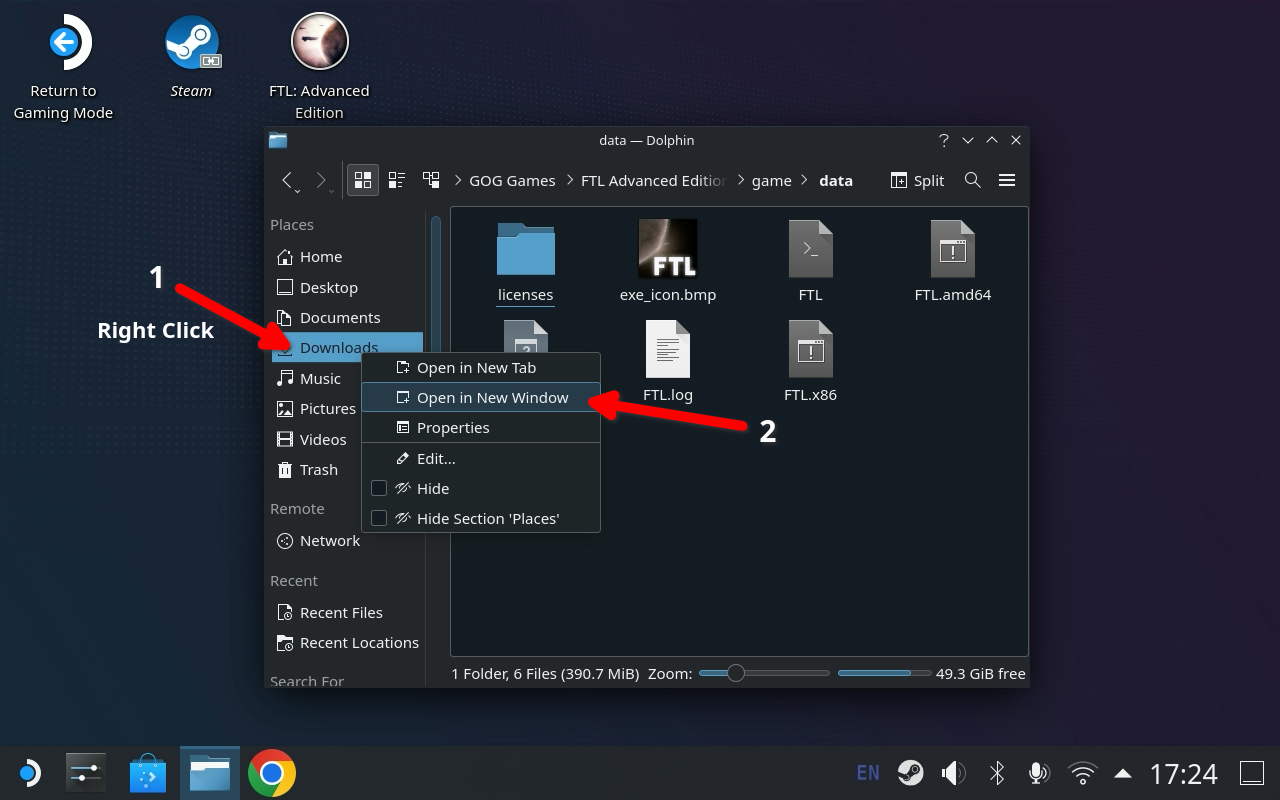
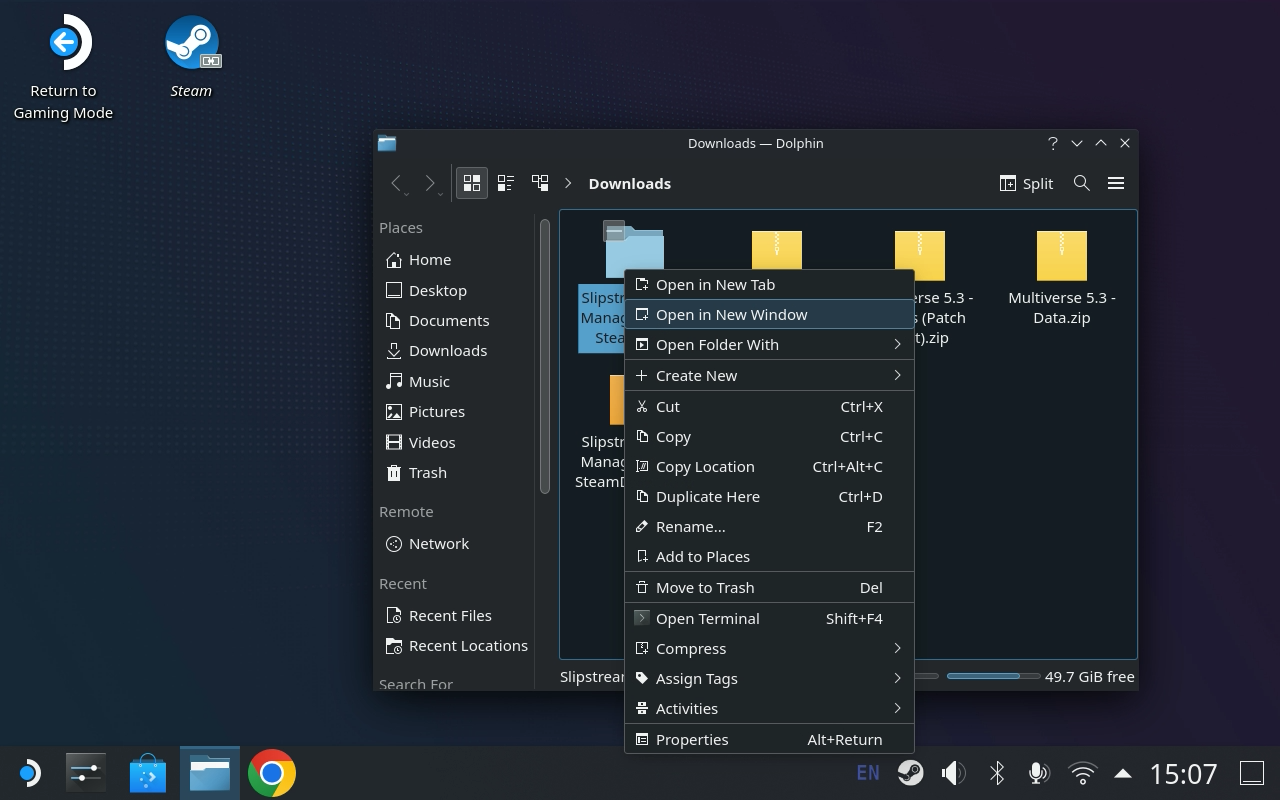
- Right click the Hyperspace zip file and
Open with Arkas we need to extract just a few files from it and not everything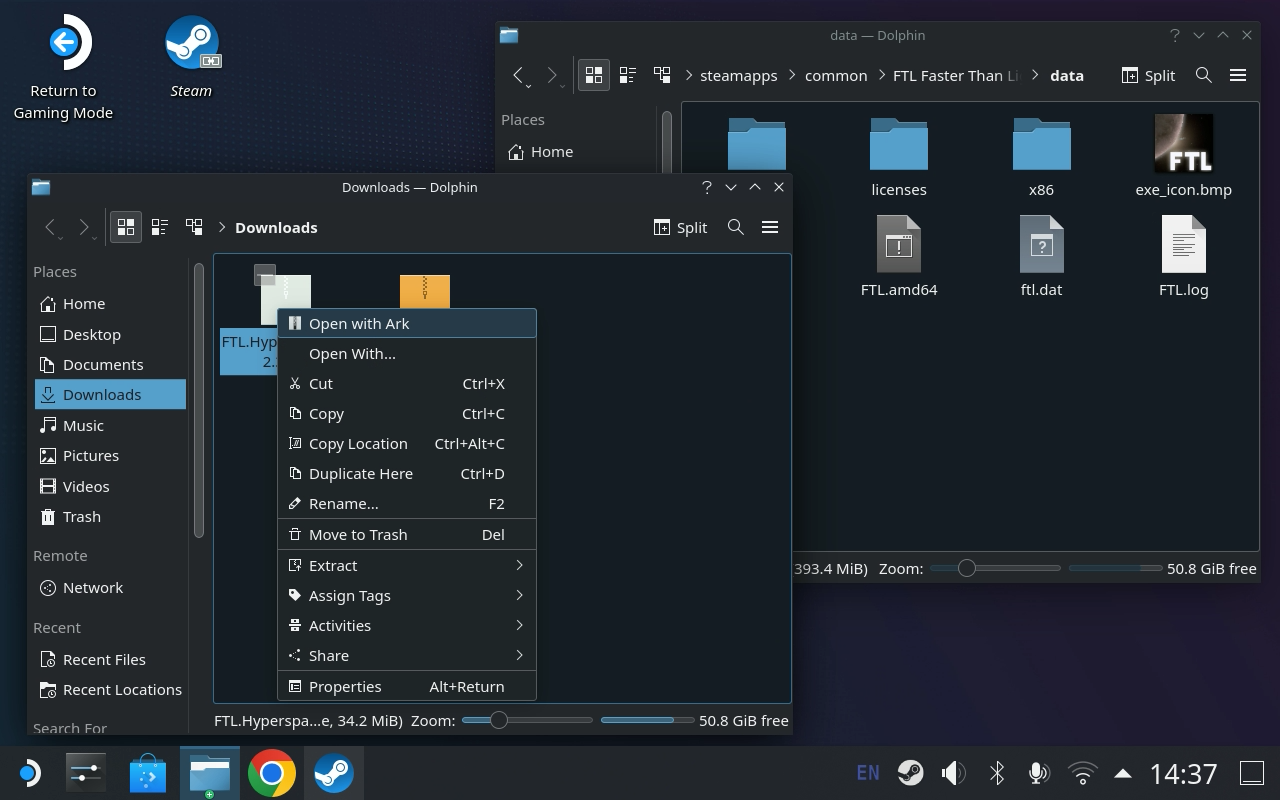
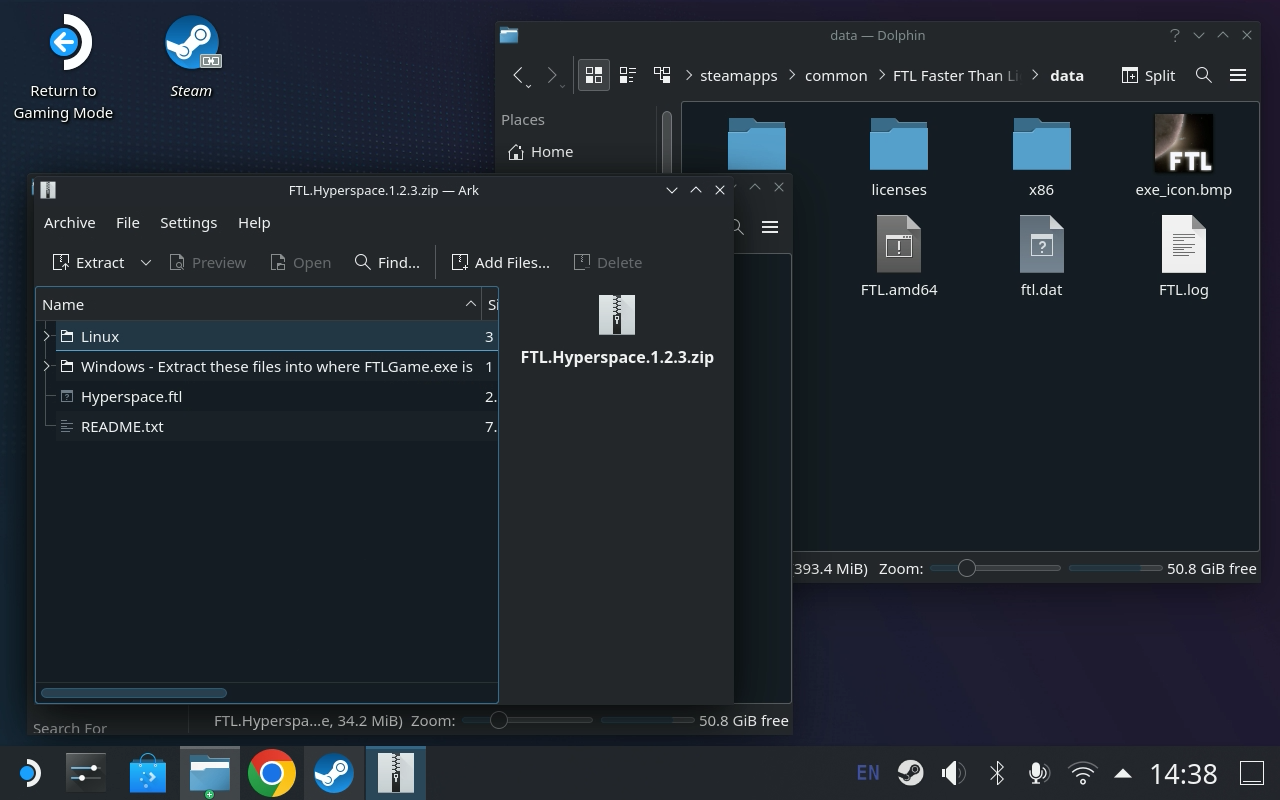
- Expand the
Linuxfolder in Ark by clicking on the little arrow to the left of it.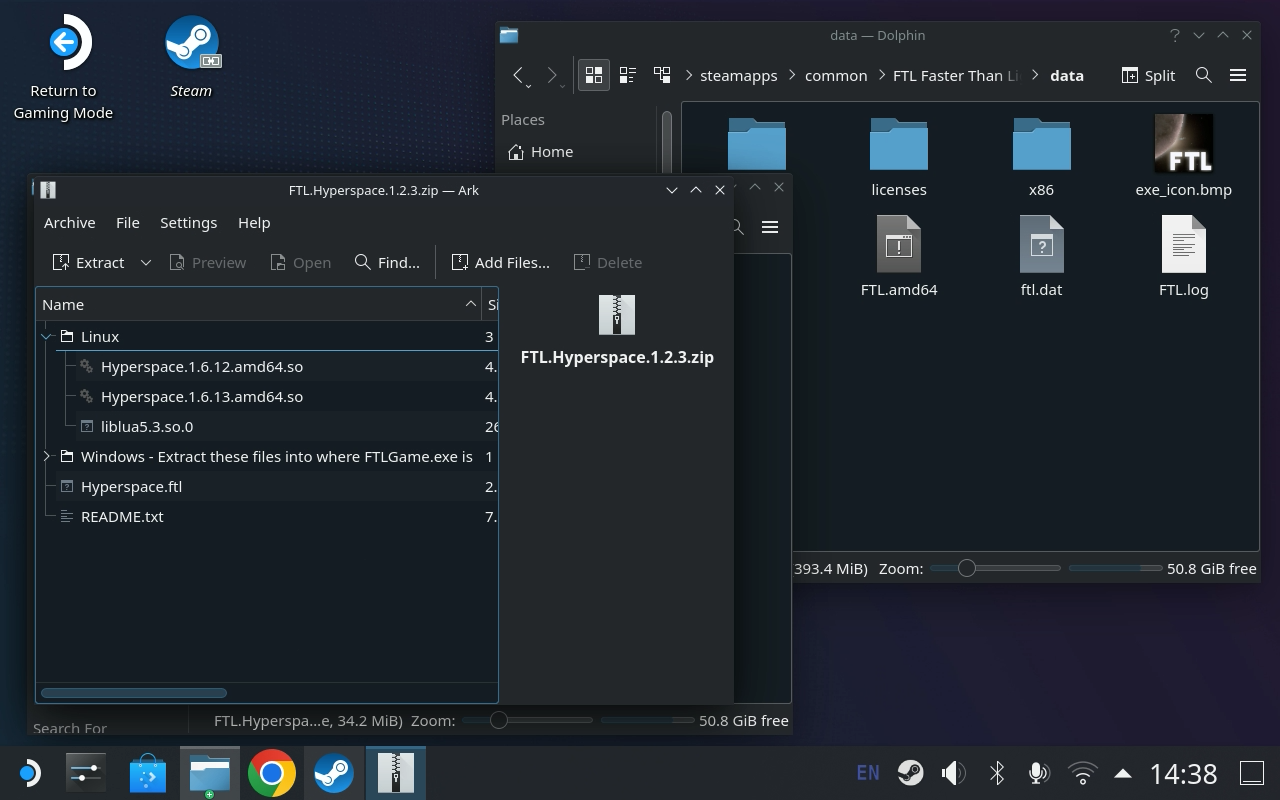
- Select only
Hyperspace.1.6.12.amd64.soandliblua5.3.so.0and drag them over to the data folder to extract them there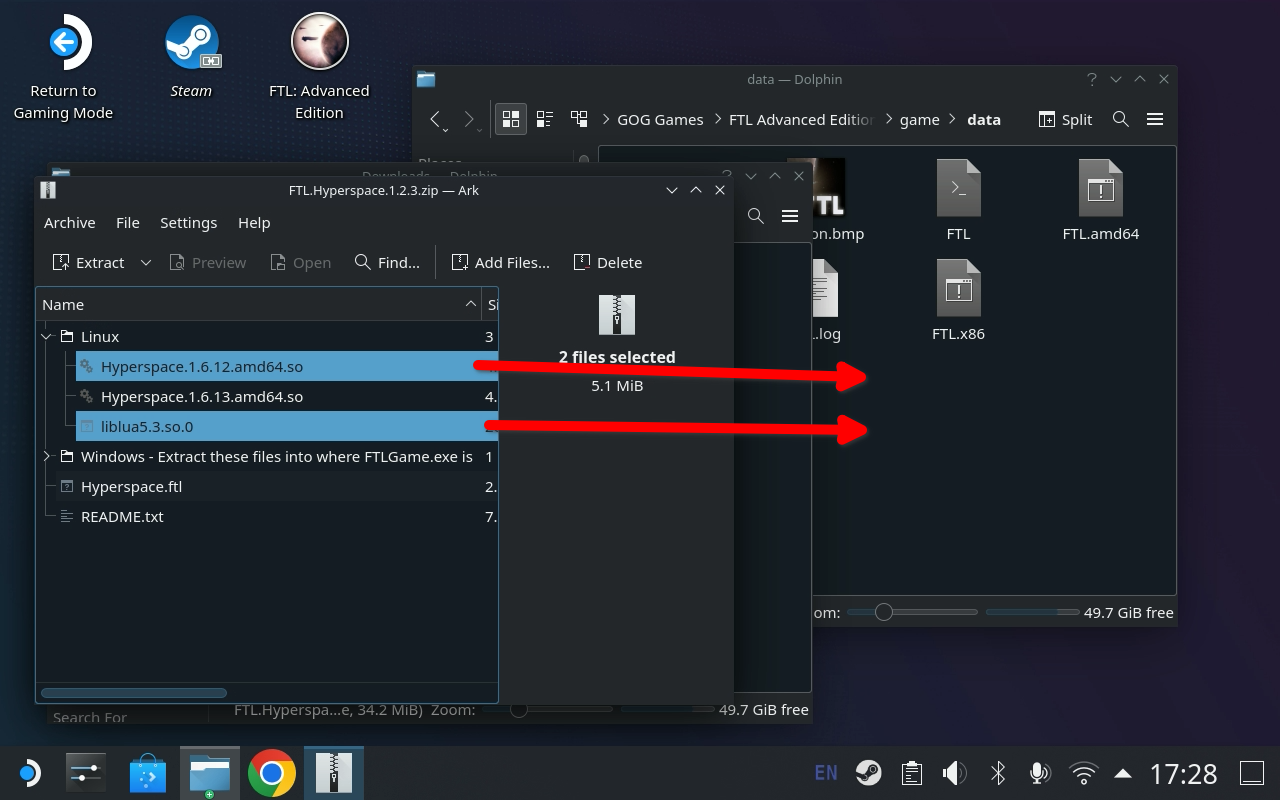
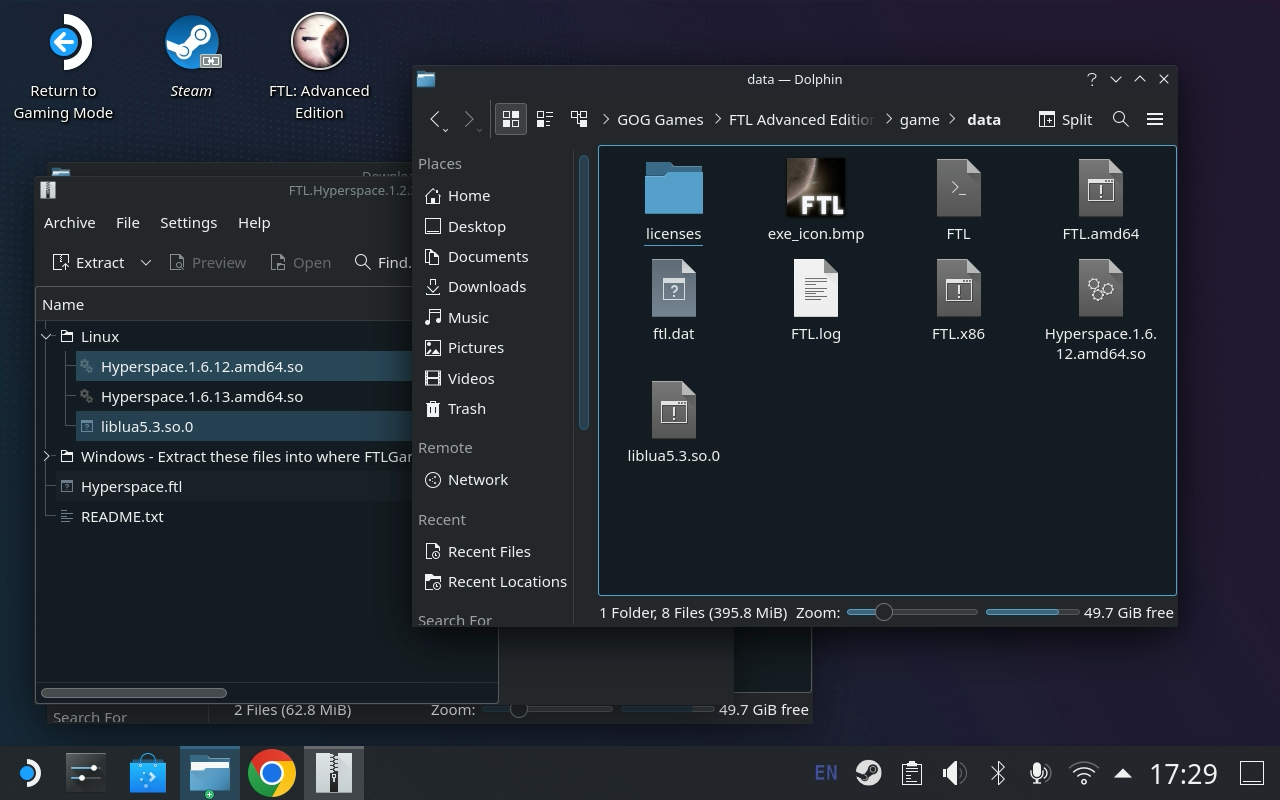
- Your data folder should now look like this
- Right click the
FTLfile andOpen with KWrite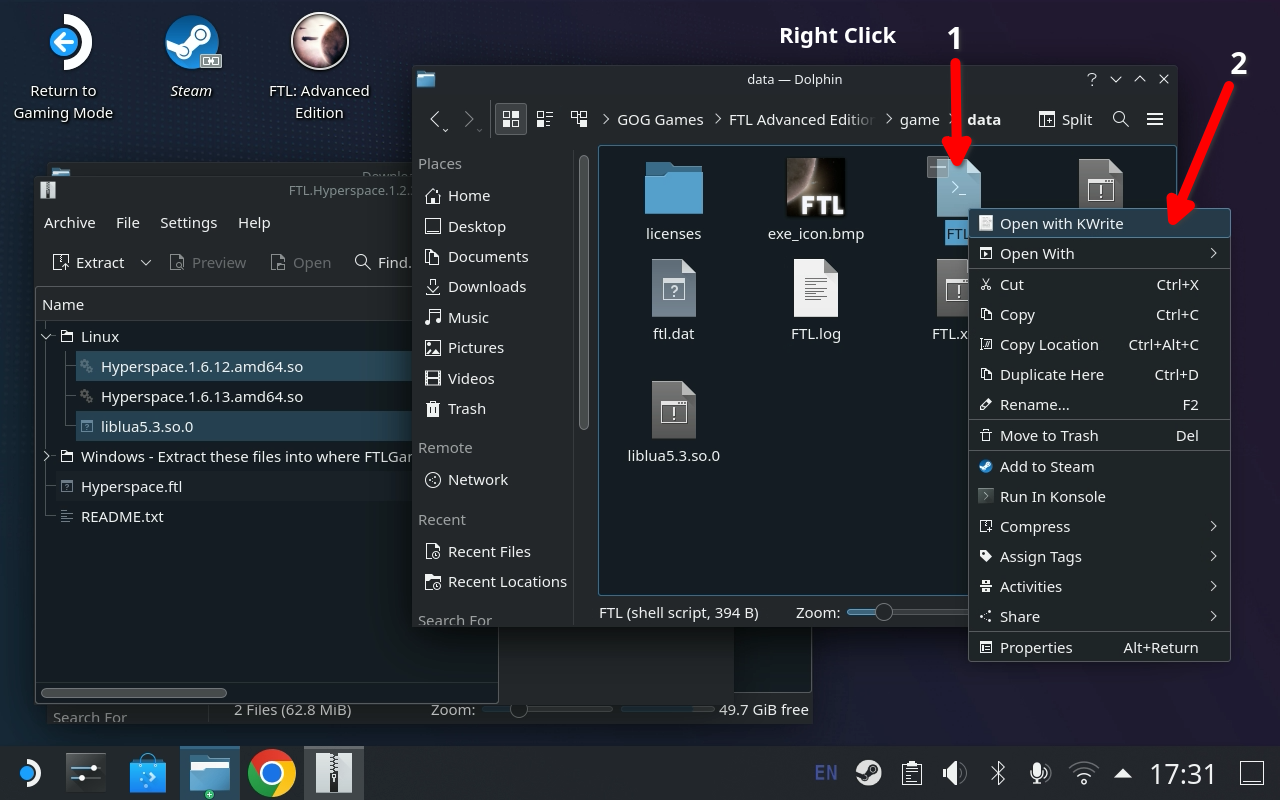
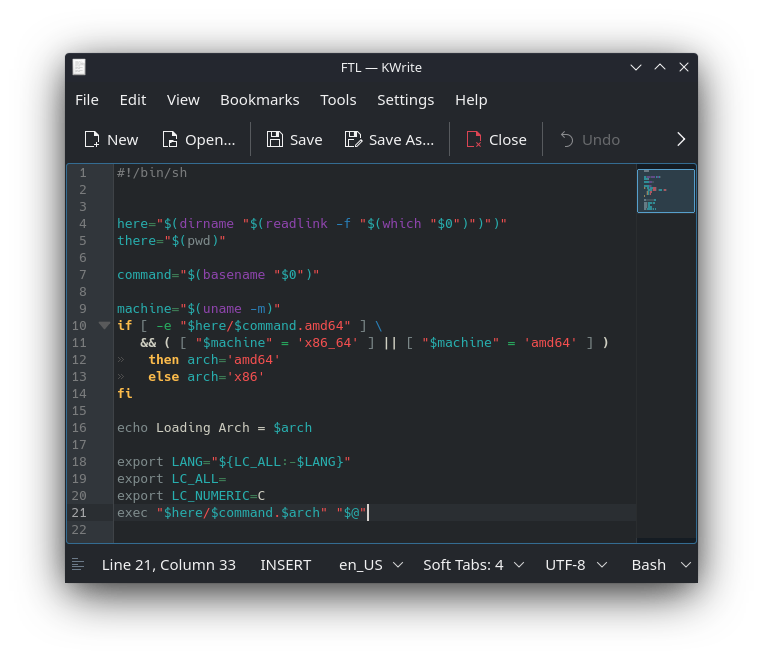
- Modify the last few lines of the file to look EXACTLY like this
You must add these two lines before the
execline but after the otherexportlinesexport LD_LIBRARY_PATH="$here":${LD_LIBRARY_PATH} export LD_PRELOAD=Hyperspace.1.6.12.amd64.soFor reference, BEFORE it will look like this:
export LANG="${LC_ALL:-$LANG}"
export LC_ALL=
export LC_NUMERIC=C
exec "$here/$command.$arch" "$@"
AFTER it must look exactly like this at the end of the file:
export LANG="${LC_ALL:-$LANG}"
export LC_ALL=
export LC_NUMERIC=C
export LD_LIBRARY_PATH="$here":${LD_LIBRARY_PATH}
export LD_PRELOAD=Hyperspace.1.6.12.amd64.so
exec "$here/$command.$arch" "$@"
So to be clear you are just adding the two lines but it’s very important you add them before that last line of the file that has
exec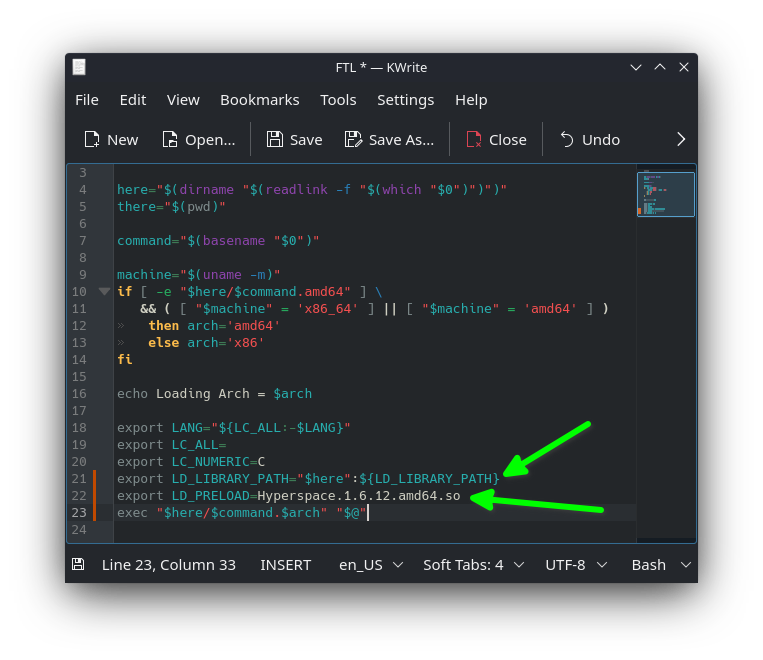
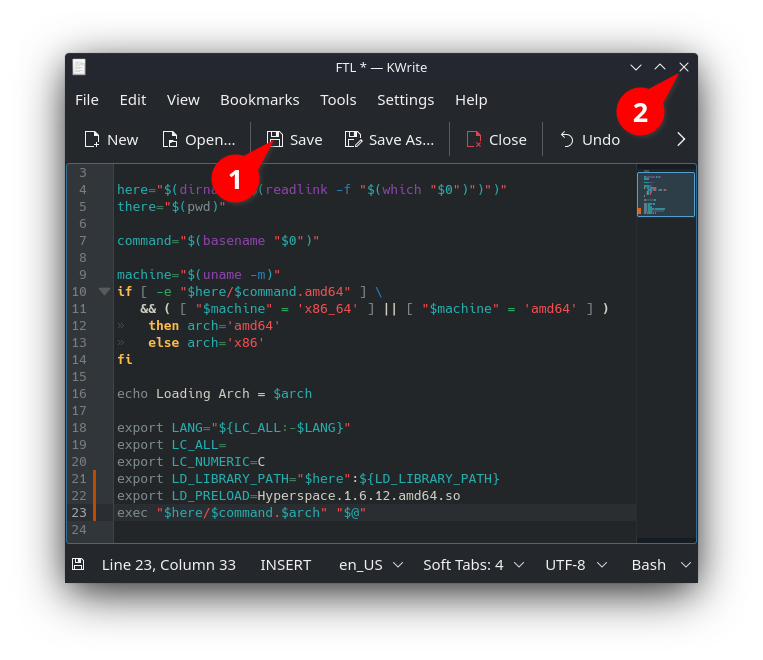
- Save the file & close KWrite
Slipstream
- Go back to the downloads folder
- Right click
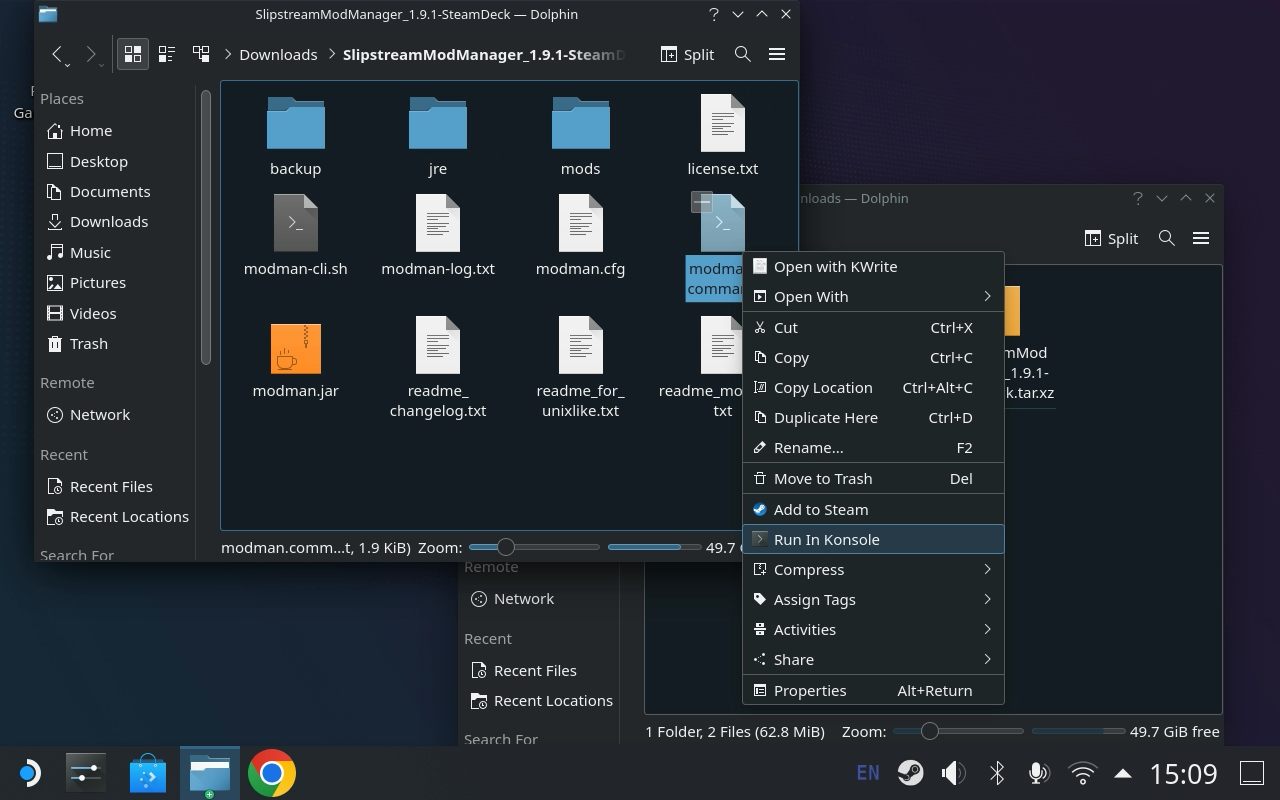
SlipstreamModManager_1.9.1-SteamDeck.tar.xzand go down toExtractand selectExtract archive here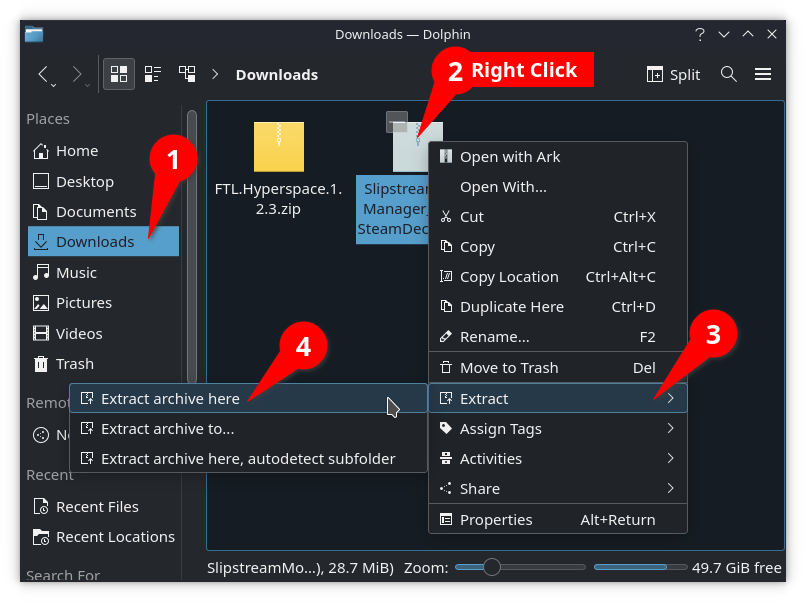
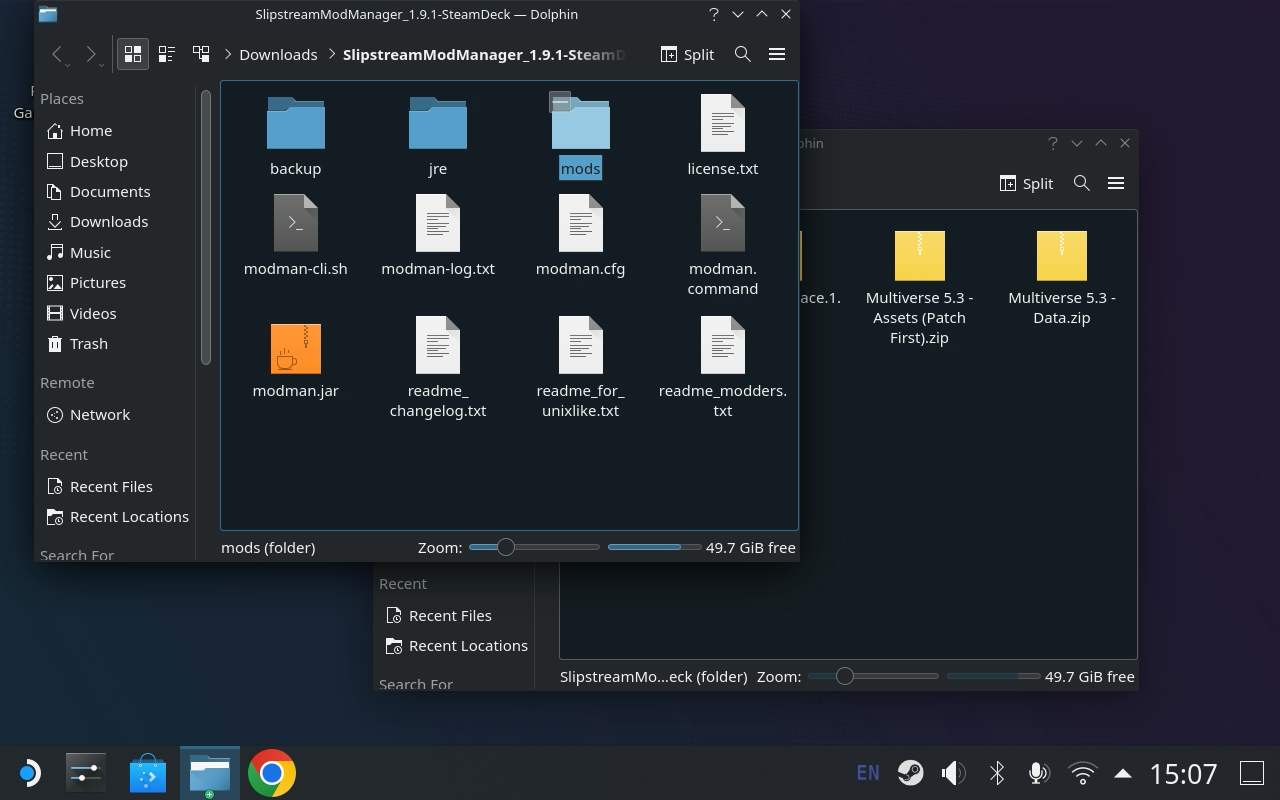
- Navigate into the
SlipstreamModManager_1.9.1-SteamDeckfolder NOTE At this point we’re done with the Ark window for Slipstream (but not the other Ark window that has Hyperspace.zip open) we’re also done with any use ofSlipstreamModManager_1.9.1-SteamDeck.tar.xzso you can delete it now if you want to free up space.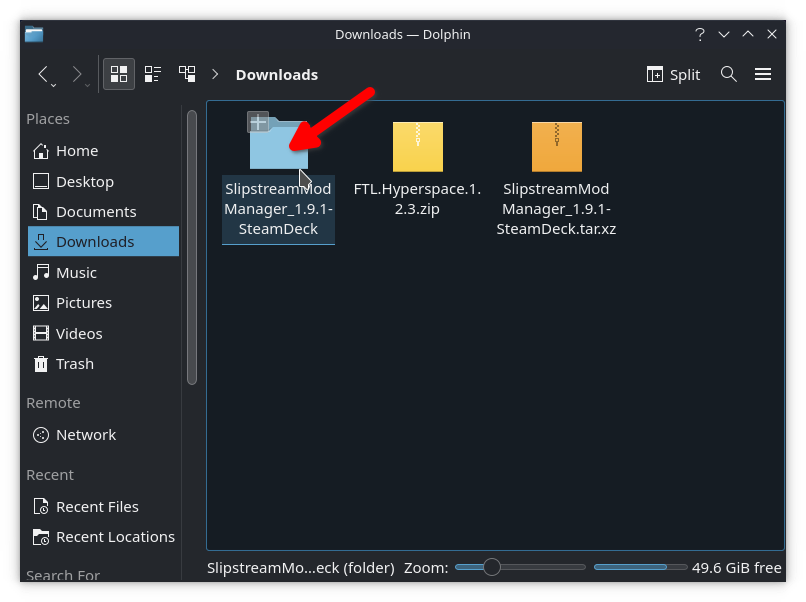
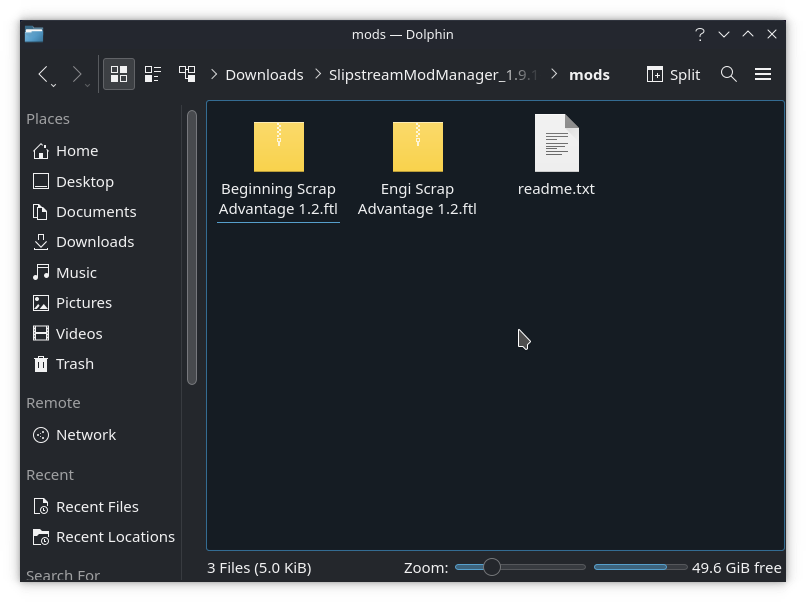
- Navigate into the
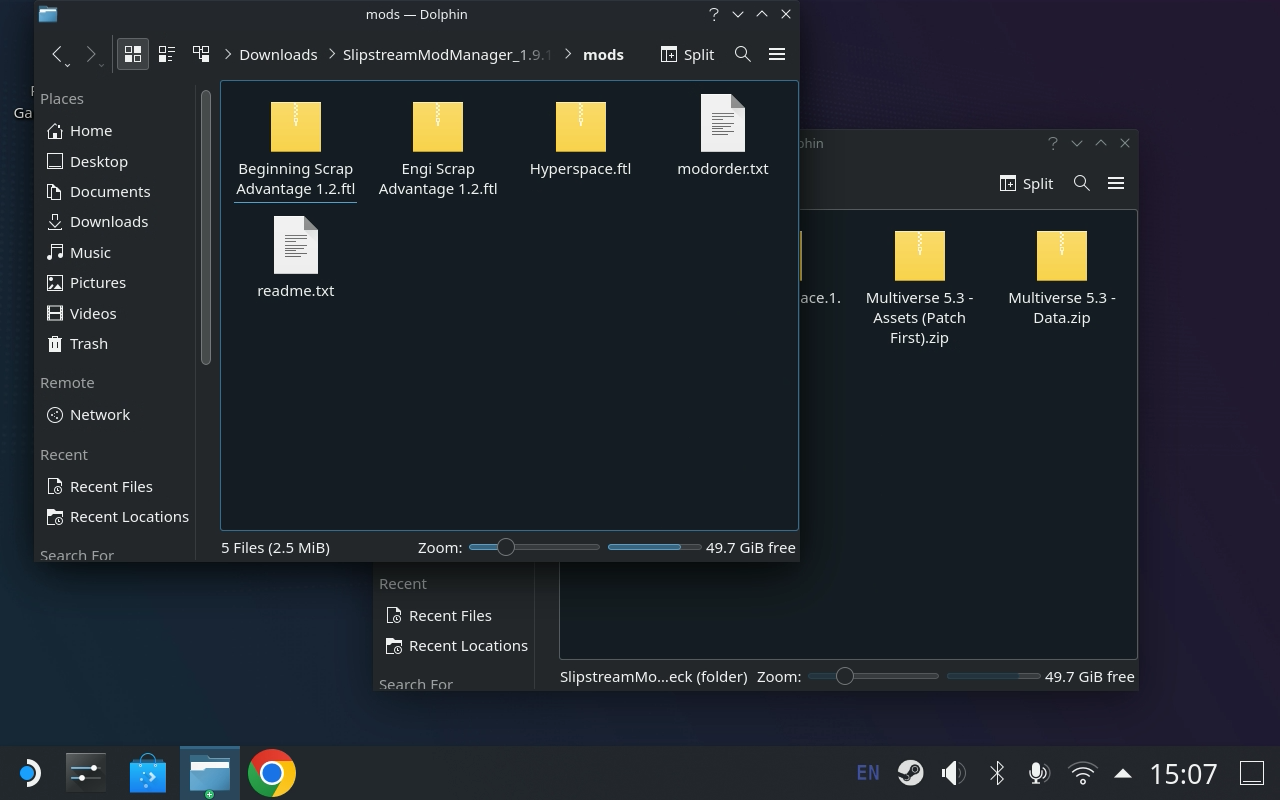
modsfolder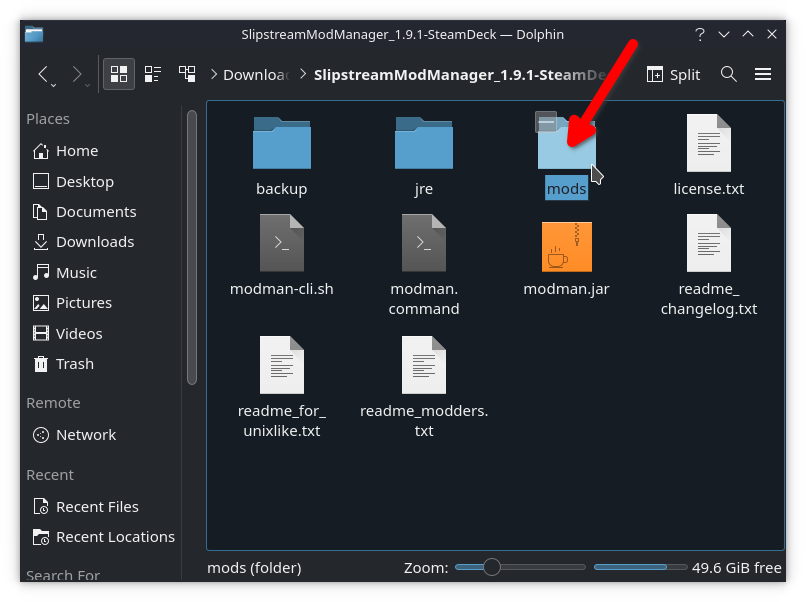 It should look like this without any mods added
- Go back over to the Ark window that has the hyperspace zip file open & select
Hyperspace.ftl - Drag
Hyperspace.ftlover into themodsfolder of Slipstream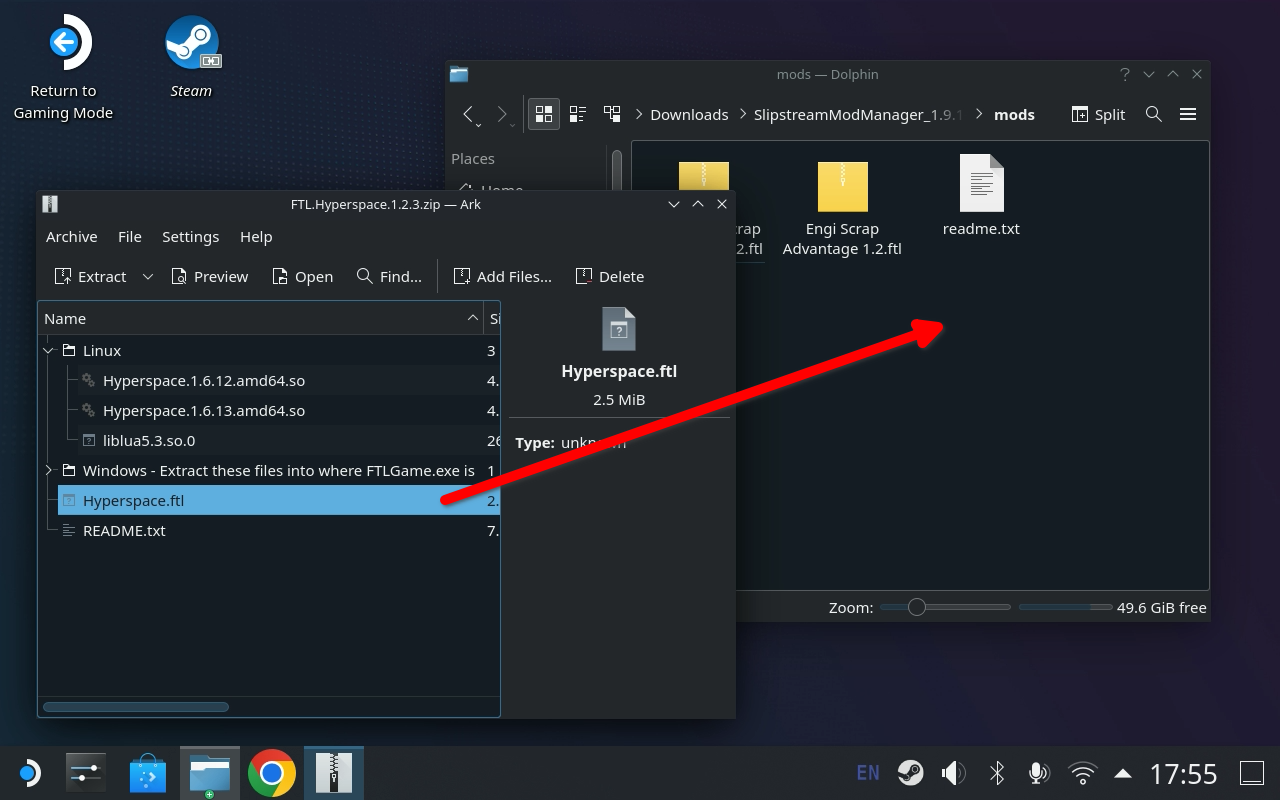
 NOTE You can now close the hyperspace Ark window and delete
 Hyperspace.x.x.x.zipfrom your downloads if you want we’re done with it for good - Navigate back up to the slipstream folder (you can click
SlipstreamModManagerin the title bar like I show here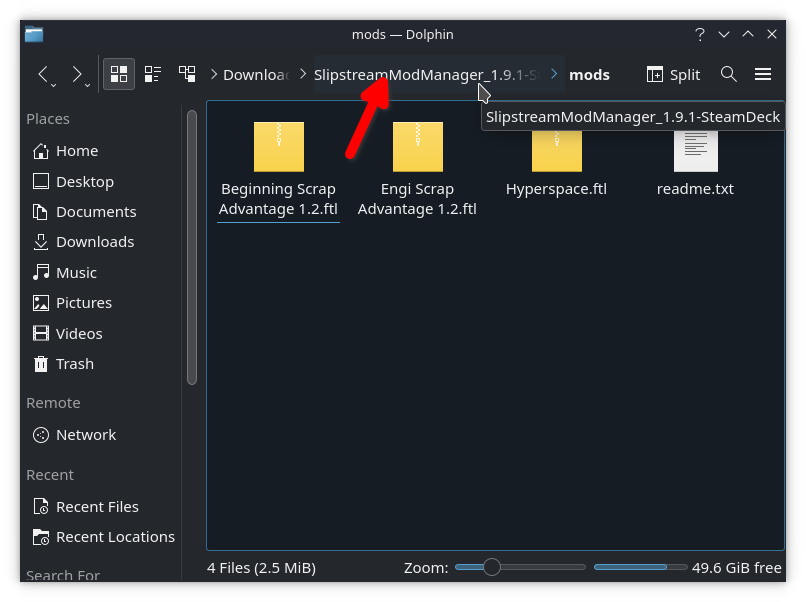
- Launch Slipstream by right clicking
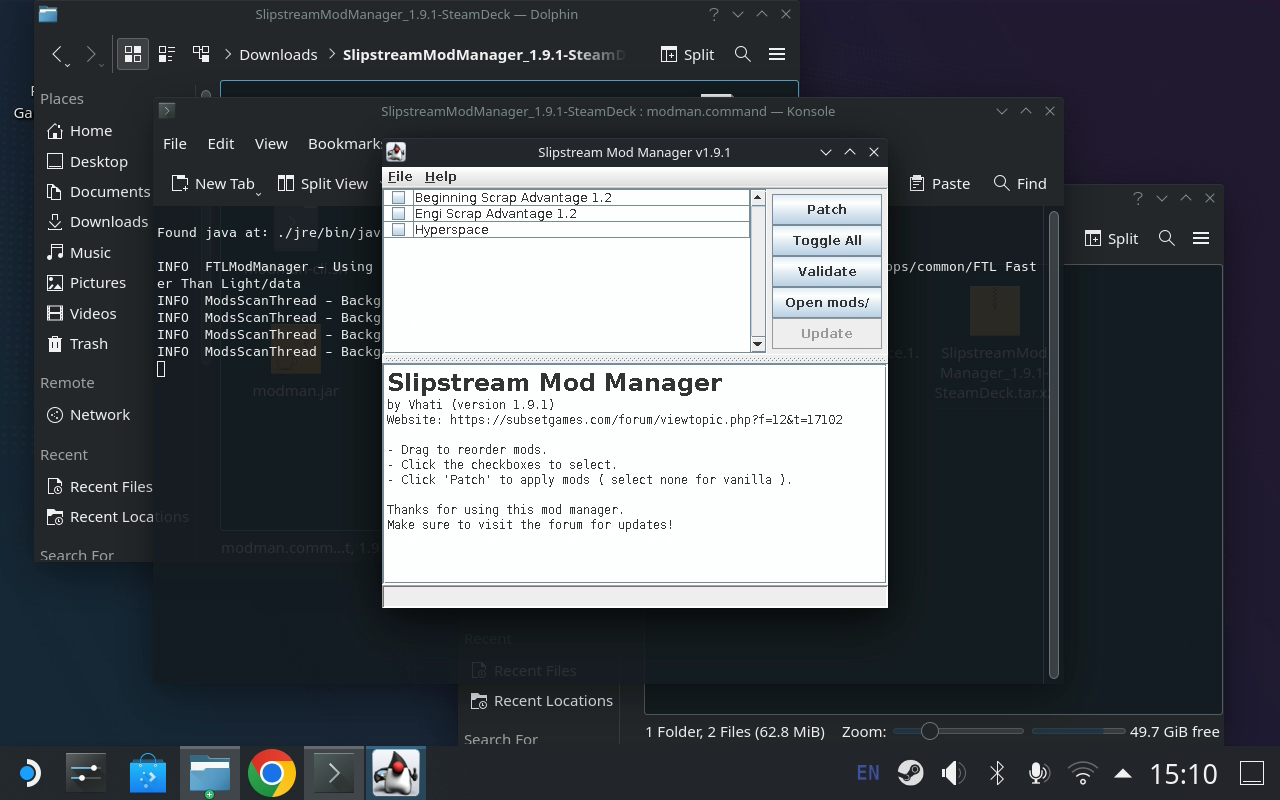
modman.commandand selectingRun In Konsole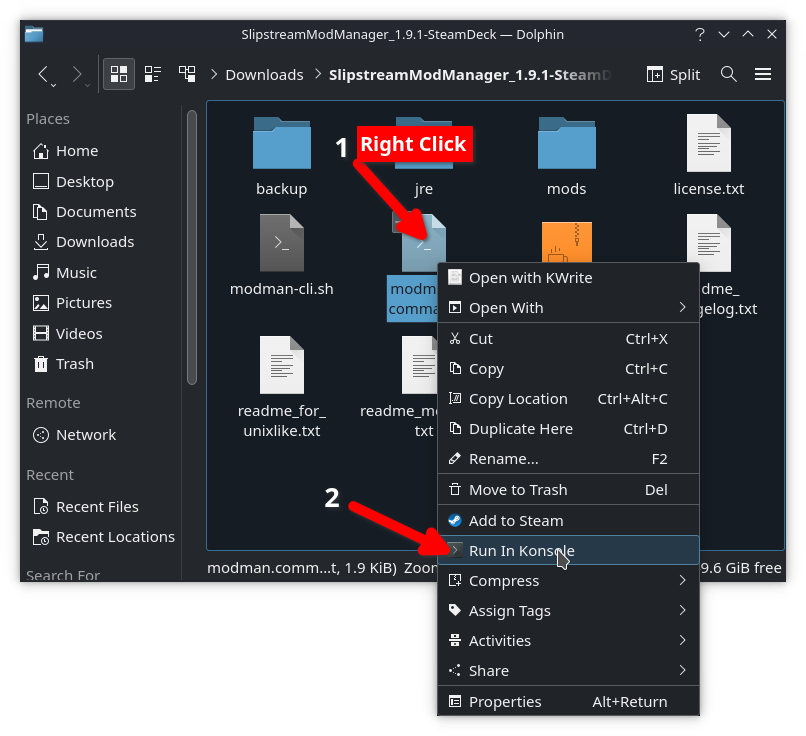
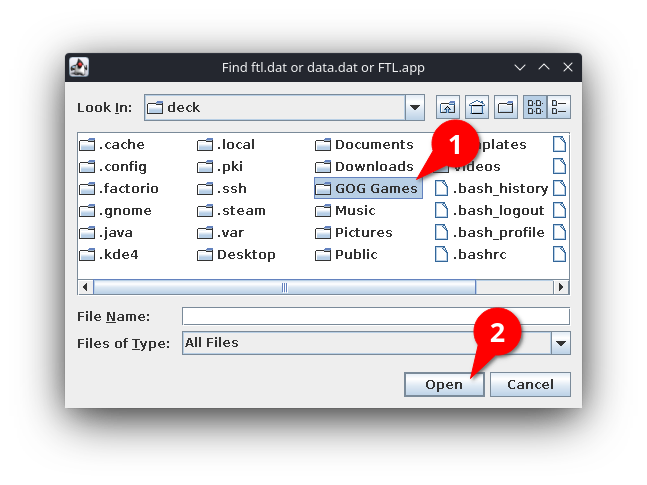
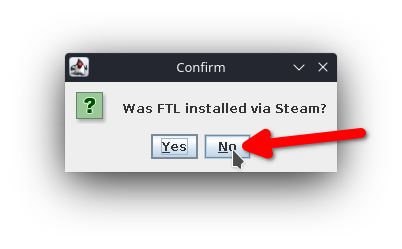
- Slipstream will likely not auto-detect a GoG or Humble install, you’ll have to tell it where the
FTL.datfile is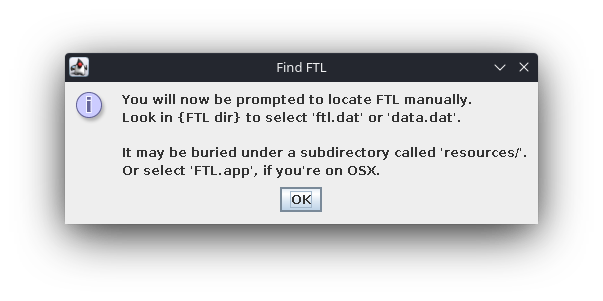

- Select that it was not installed via Steam
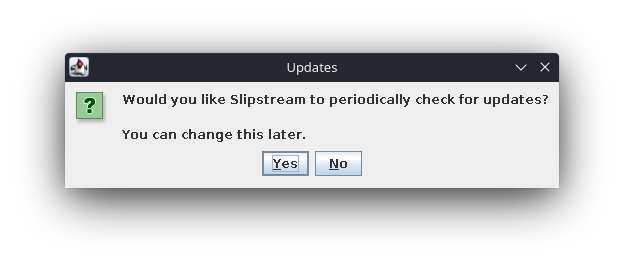
- Your choice, yes/no if you want it to check for updates
- Slipstream running, check the box next to
Hyperspaceand hitPatch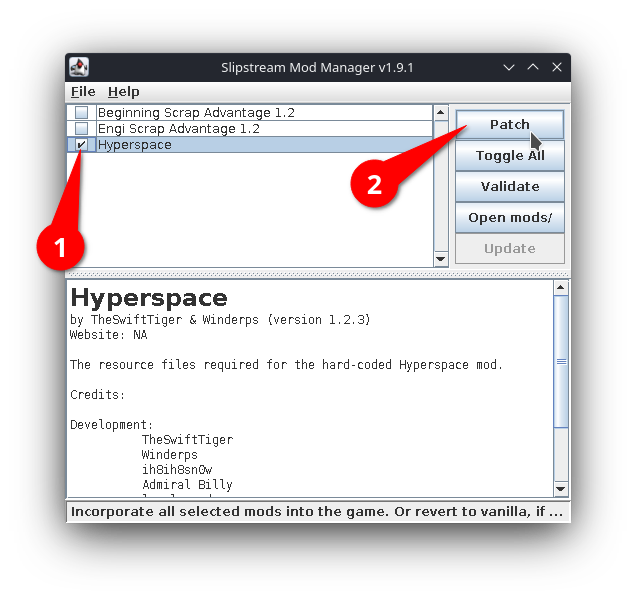
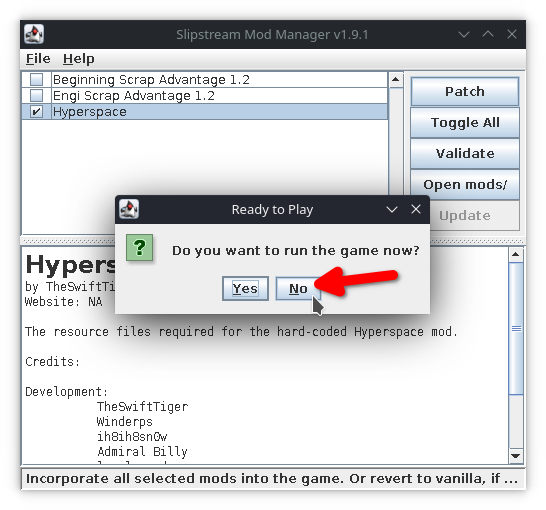
- Say NO to running the game right now, we need to stop here and go disable steam cloud saves & delete the save files to ensure a successful start.
Removing old saves that will probably freeze the game
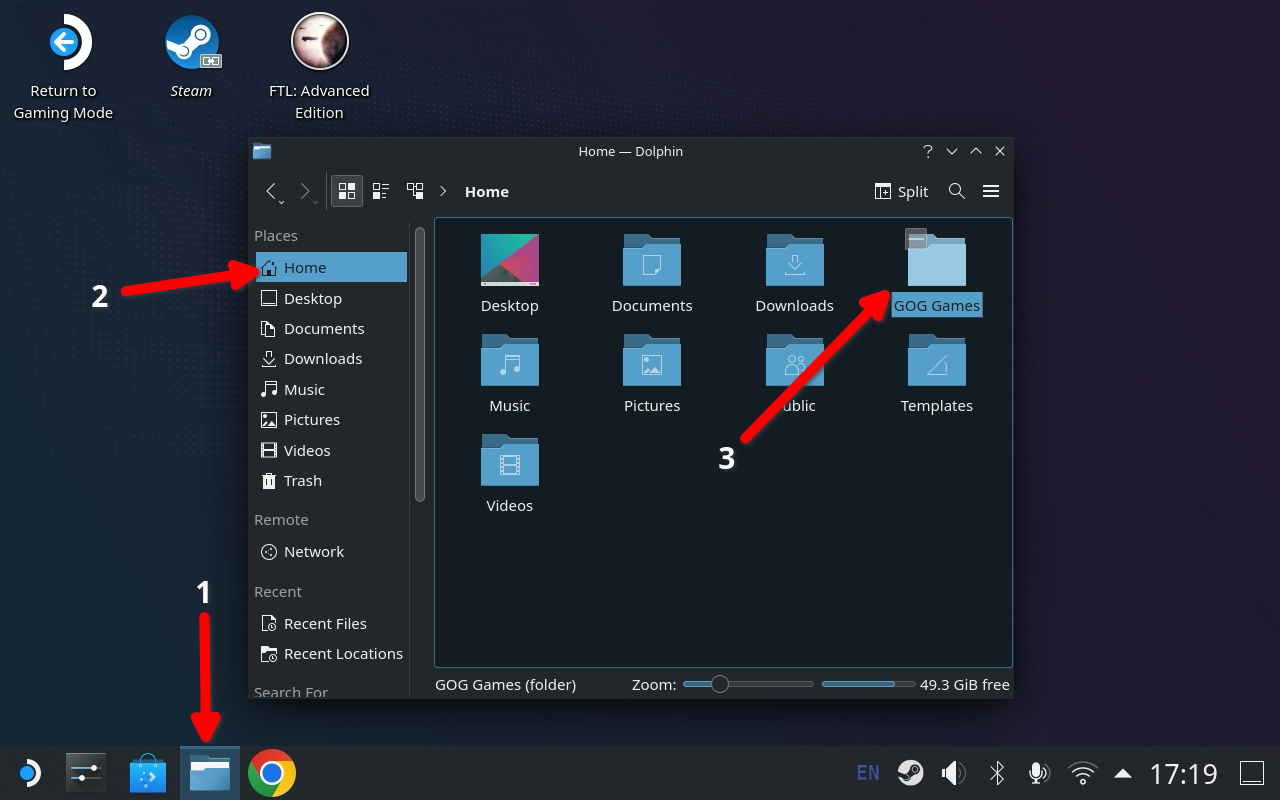
- Go back to your file browser (Dolphin) select
Homeon the left hand side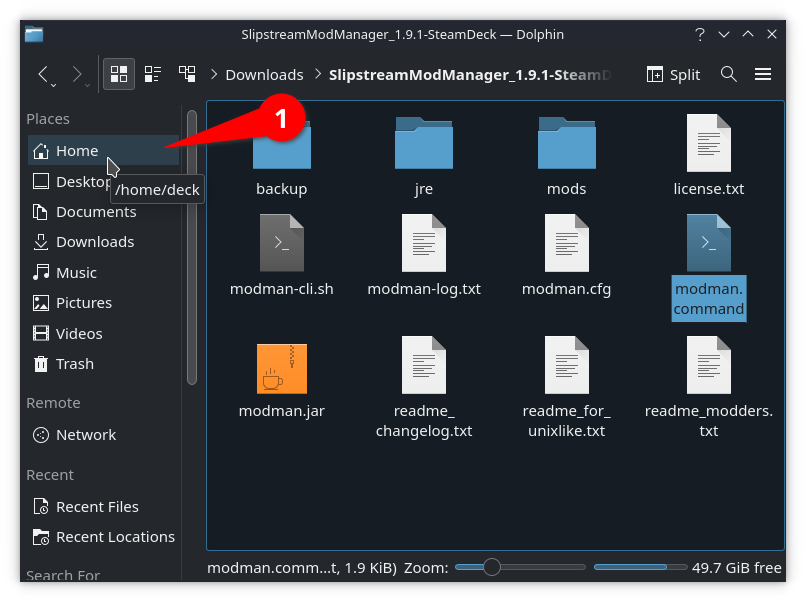
- Select the hamburger menu in the top right and check
Show Hidden Files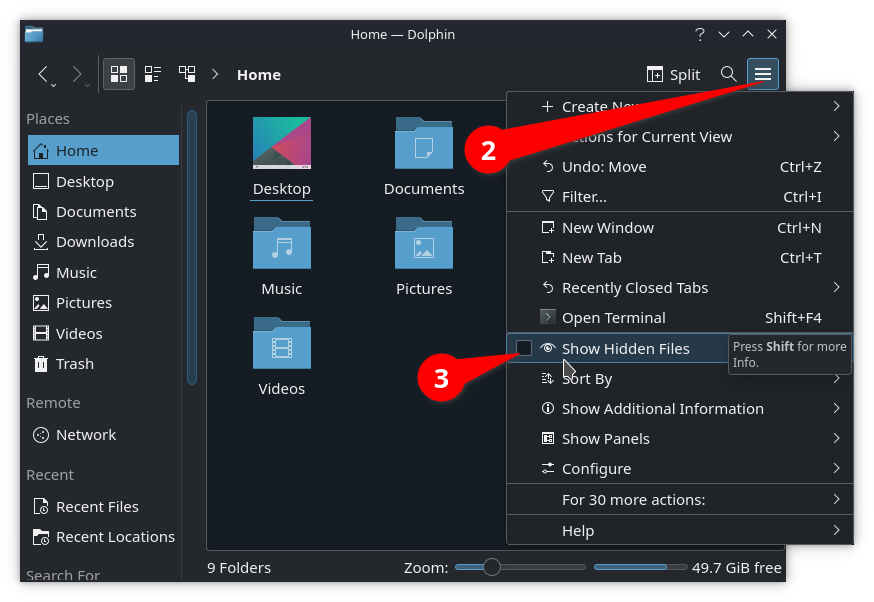
- Navigate into the
.localfolder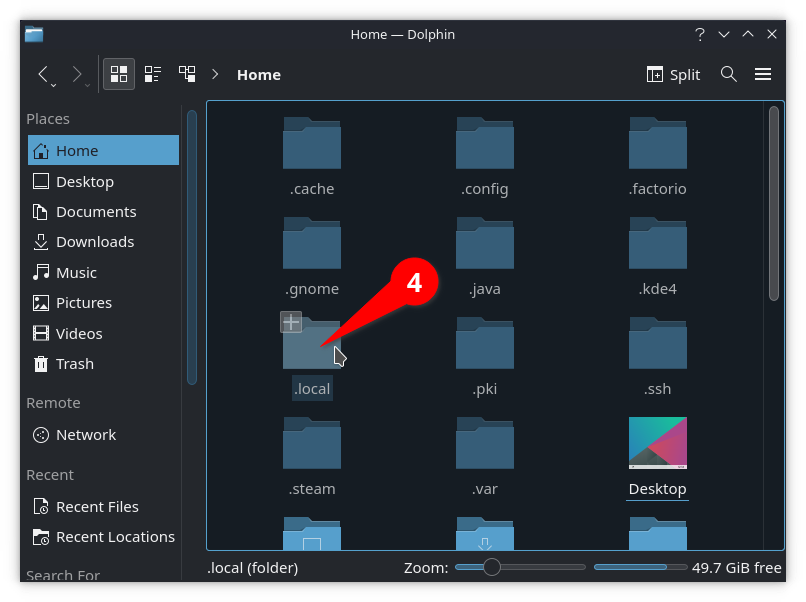
- And then the
sharefolder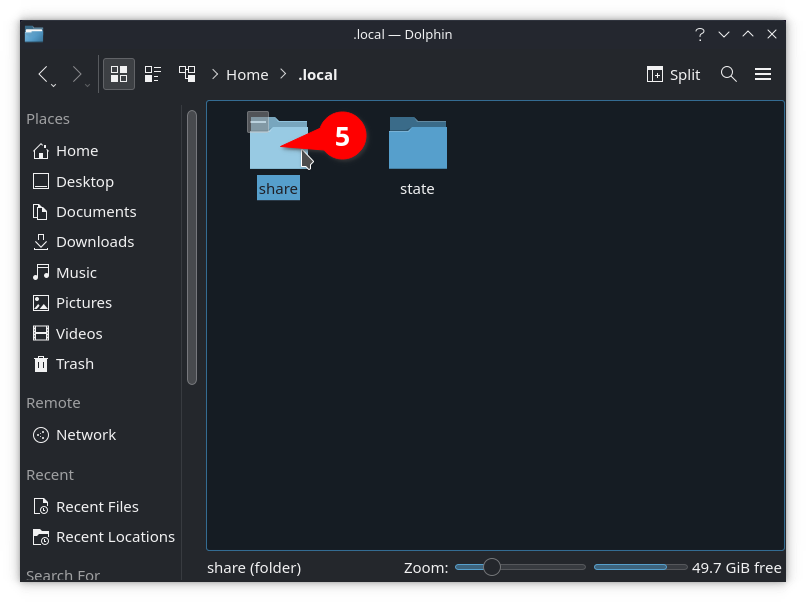
- Find the
FasterThanLightfolder, you can back it up somewhere at this point if you want to save your vanilla save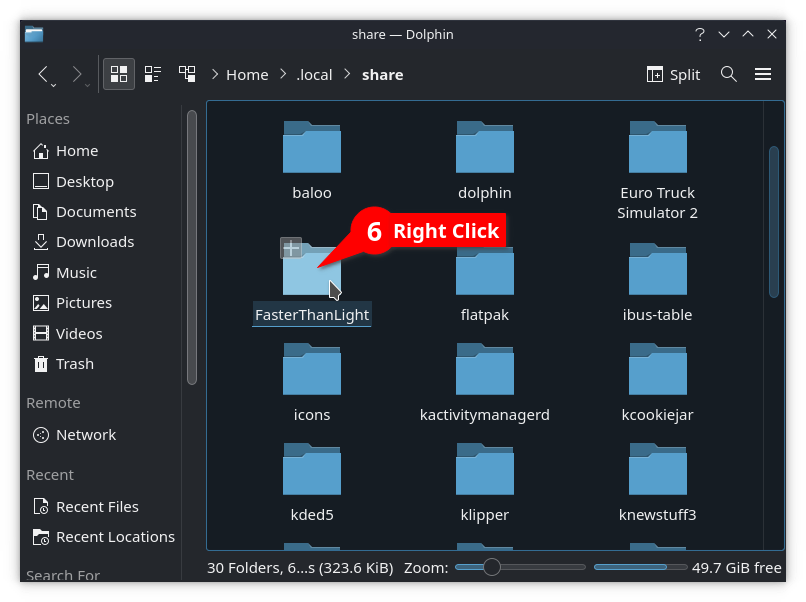
- Right click
FasterThanLightand selectMove to Trash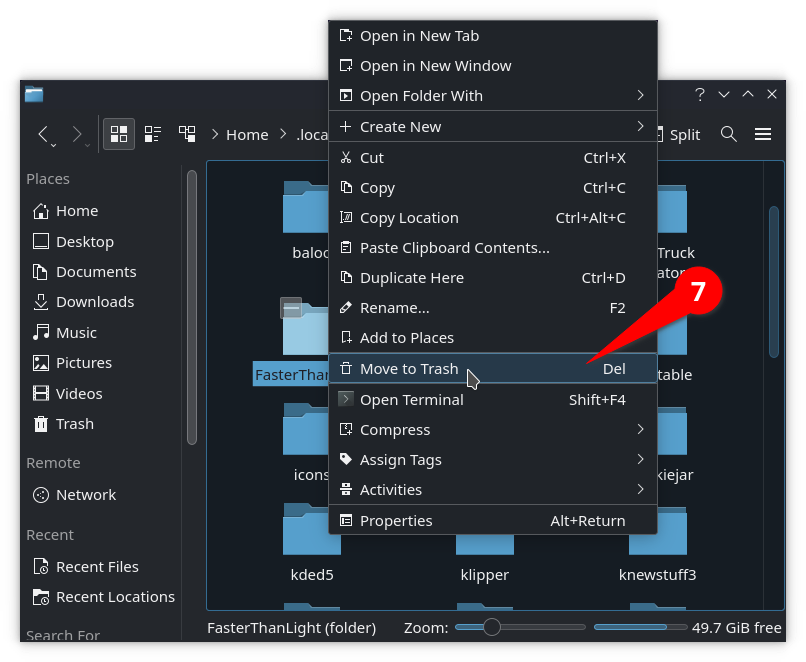
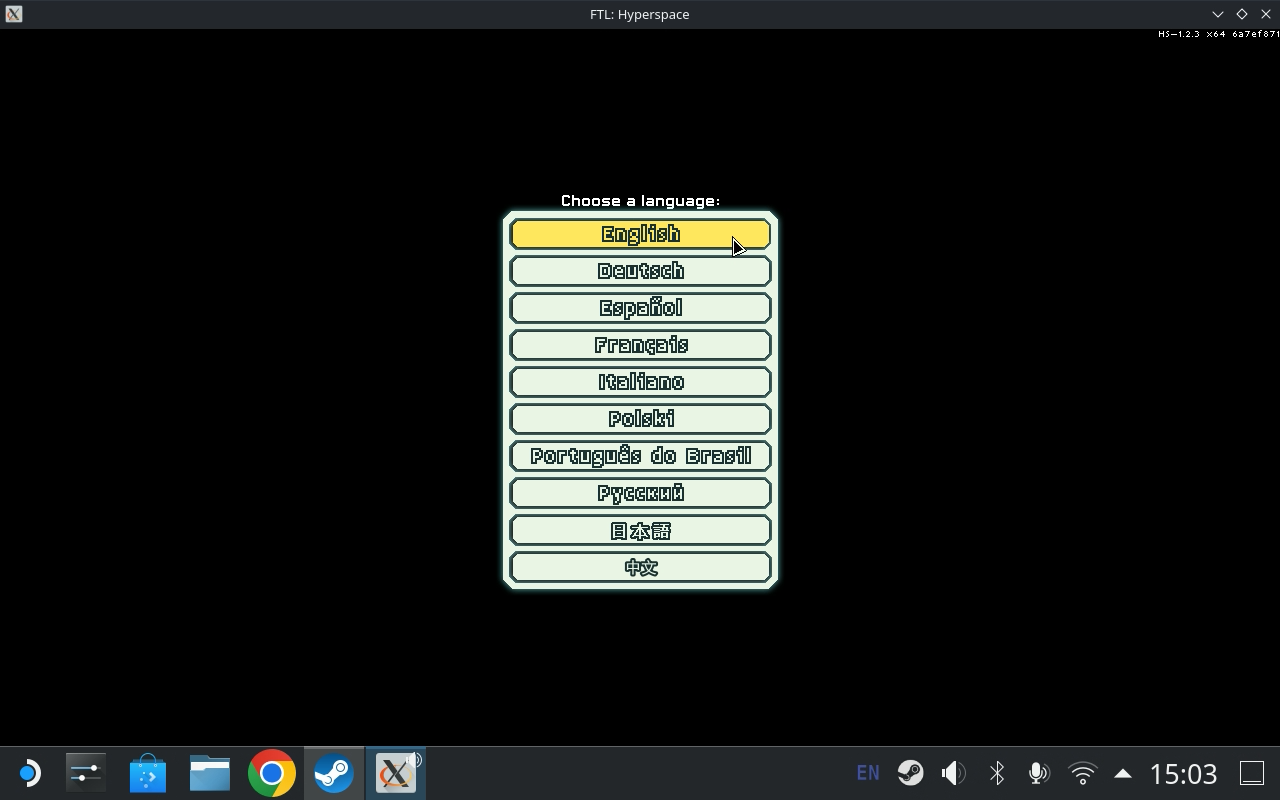
- Launch FTL
- You should see a language selector if you deleted all the saves correctly.
- You should notice it says
HS-x.x.x x64in the upper right corner, this indicates the Hyperspace.so file is running The1.6.12 (Hyperspace x.x.x)in the lower right indicates a successful patching of Hyperspace.ftl with slipstream. You should see BOTH indicators showing hyperspace is running correctly.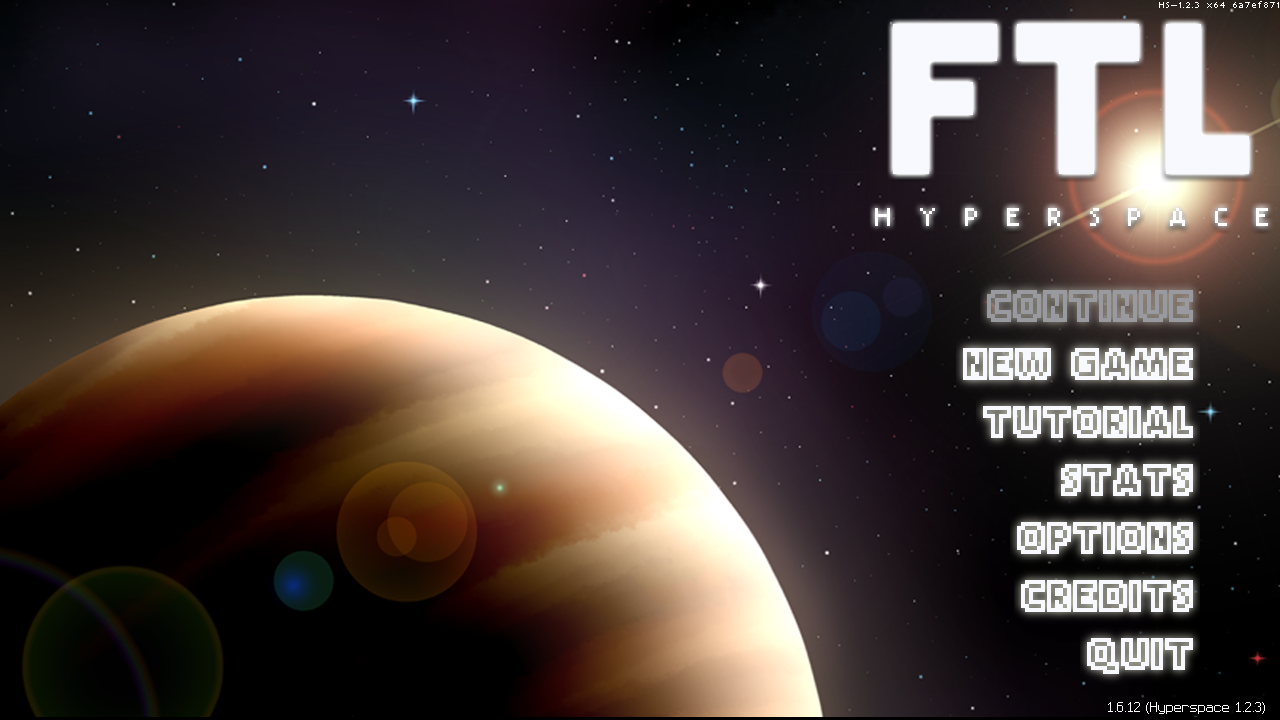
Multiverse Install
- Download the “RAW Files” for Multiverse and not the installer

- Open your downloads folder
- Open slipstream’s folder in a new window
- Open slipstream’s mods folder
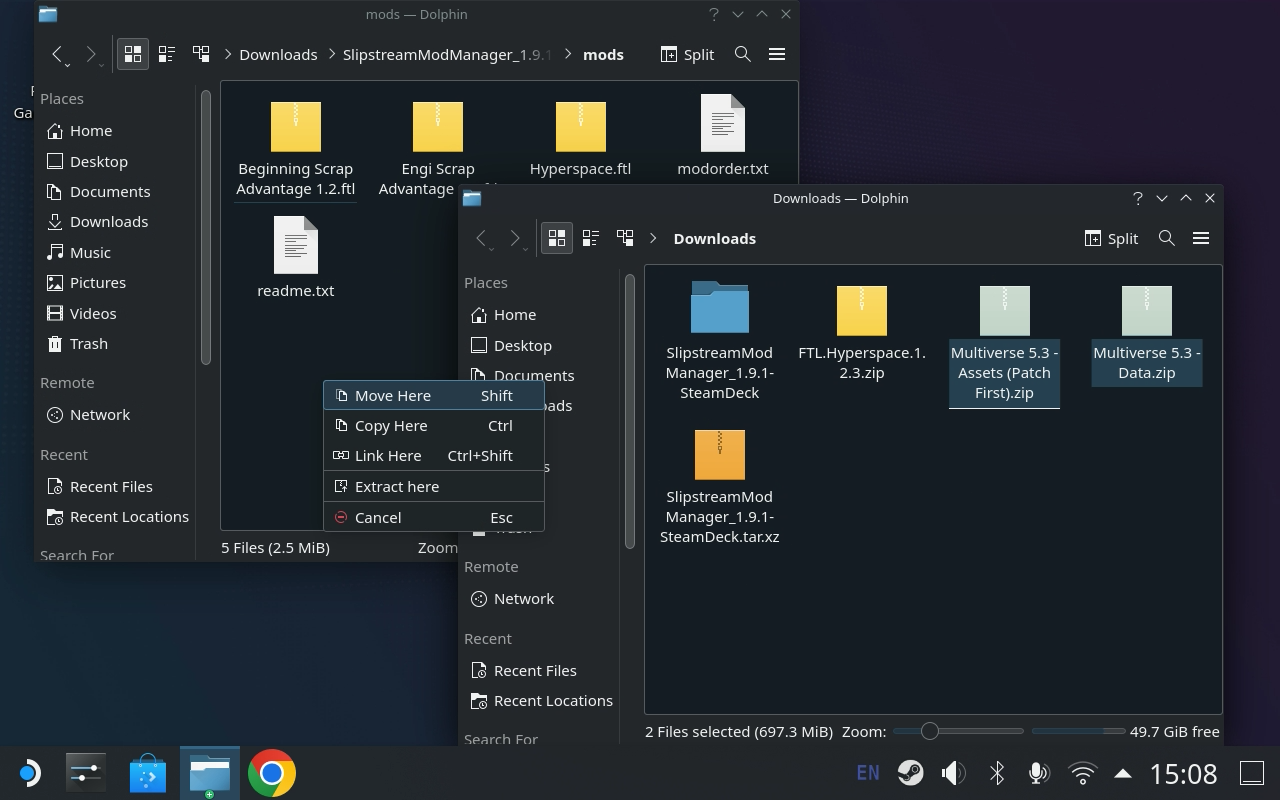
- Move over the two multiverse mod zips


- Navigate back up to Slipstream’s folder and right click
modman.commandandRun in Konsoleto start Slipstream again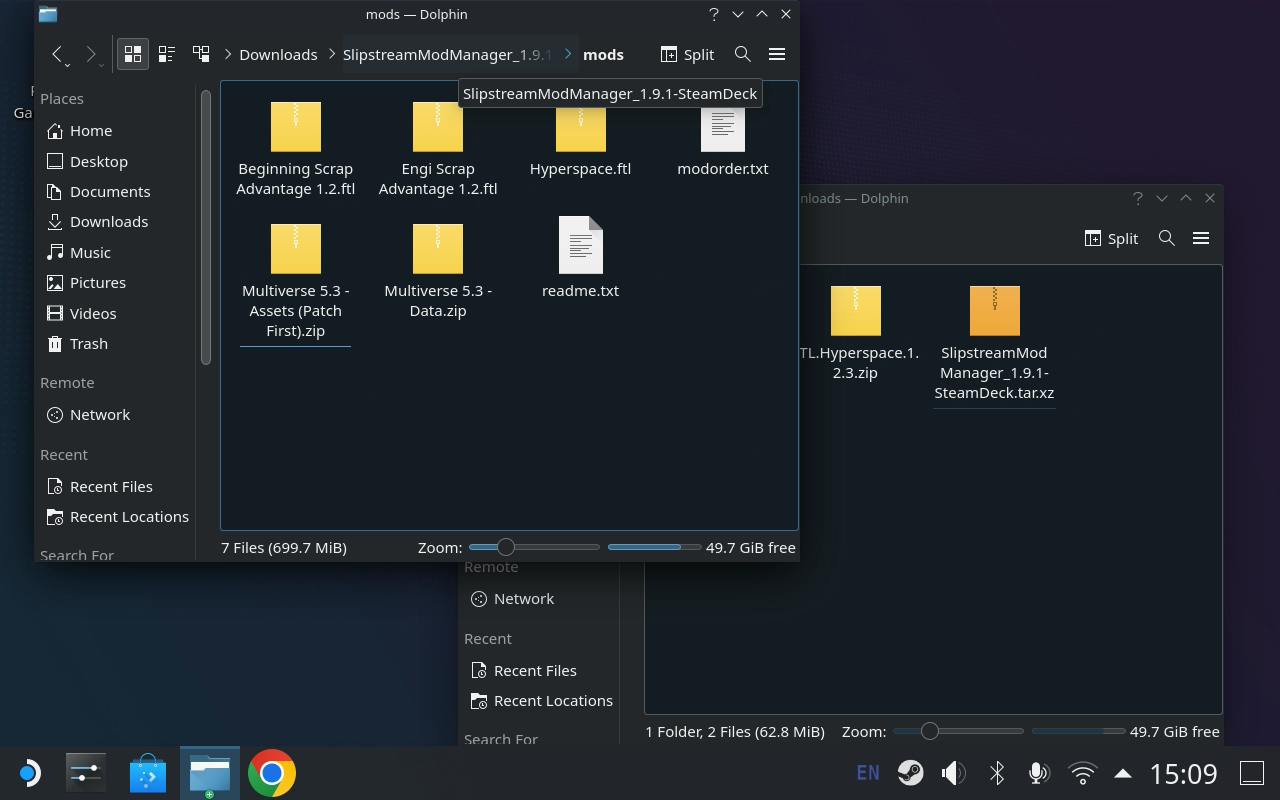
- You should see something like this, with the Multiverse files missing, don’t panic we need to tell slipstream to see zip files as mods
- Go to slipstream’s preferences
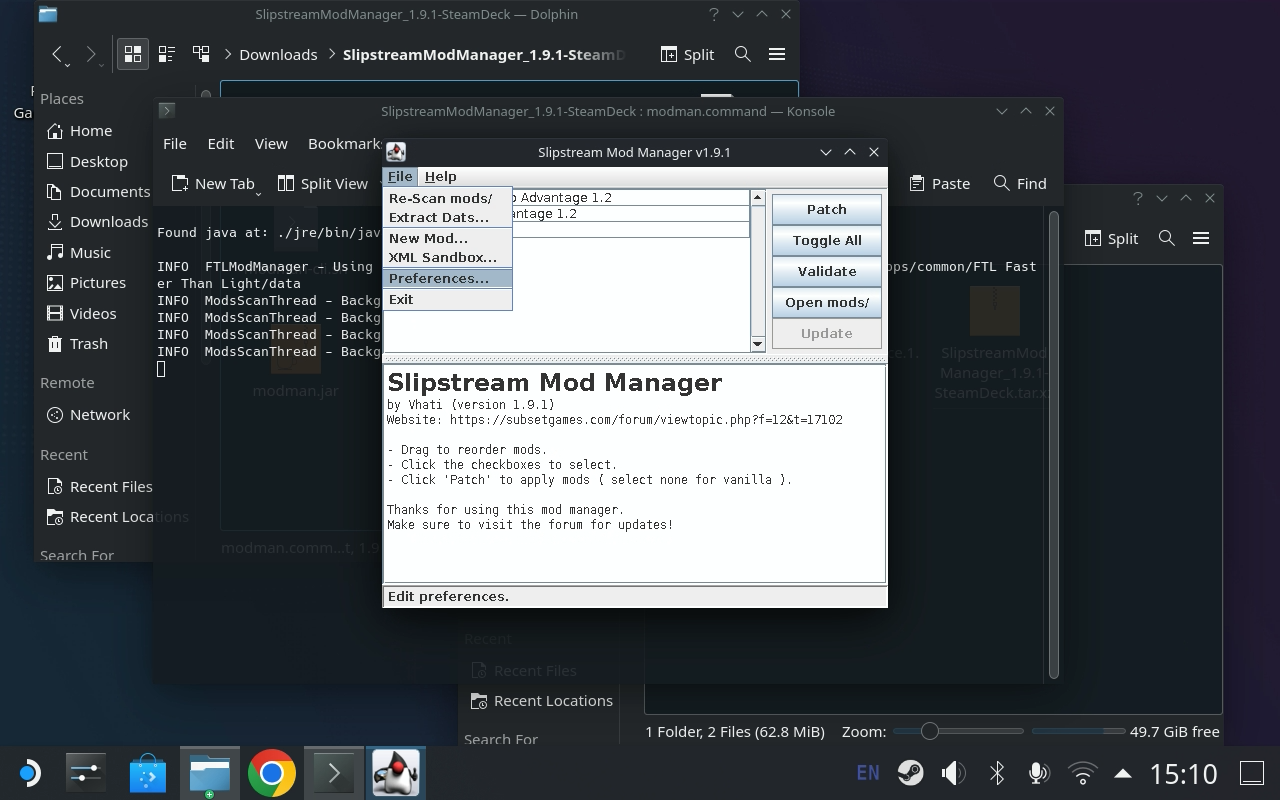
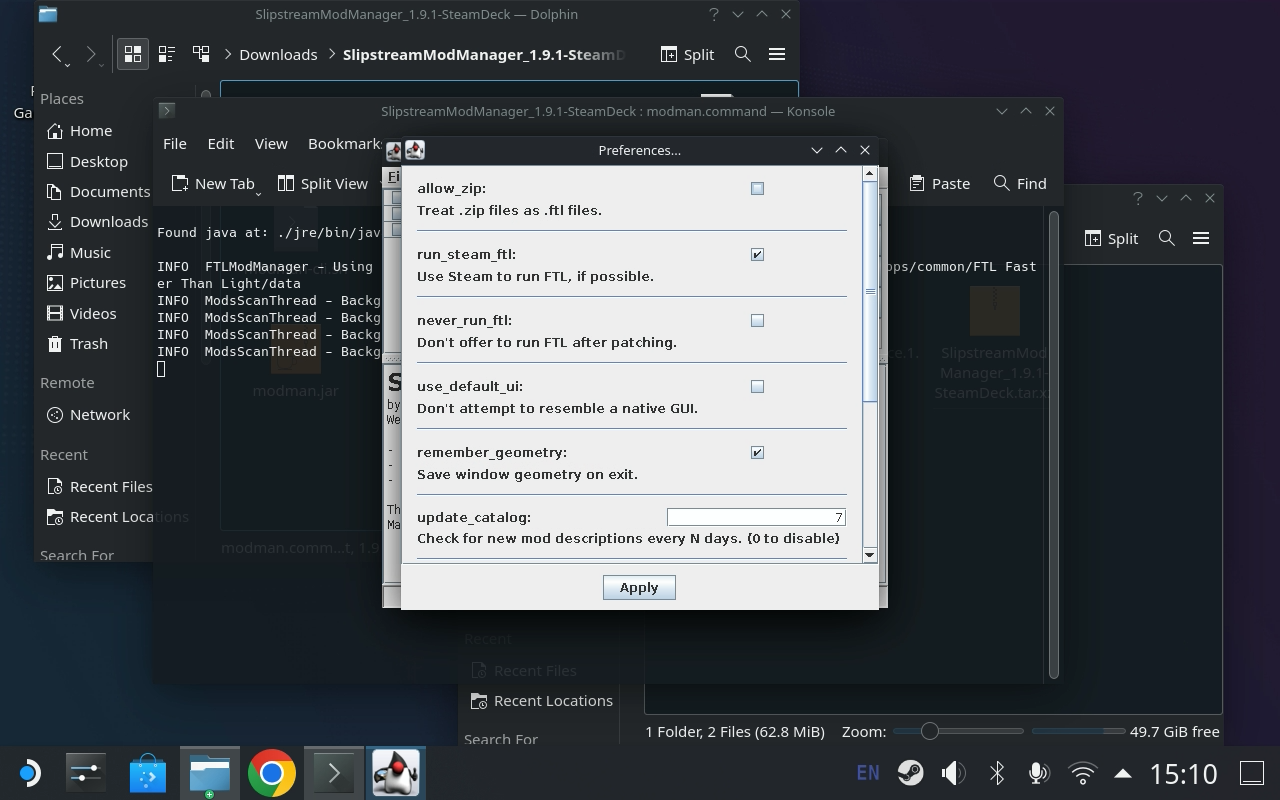
- Check
allow_zip
- Apply

- Now we need to tell slipstream to
Re-Scan mods/under the file menu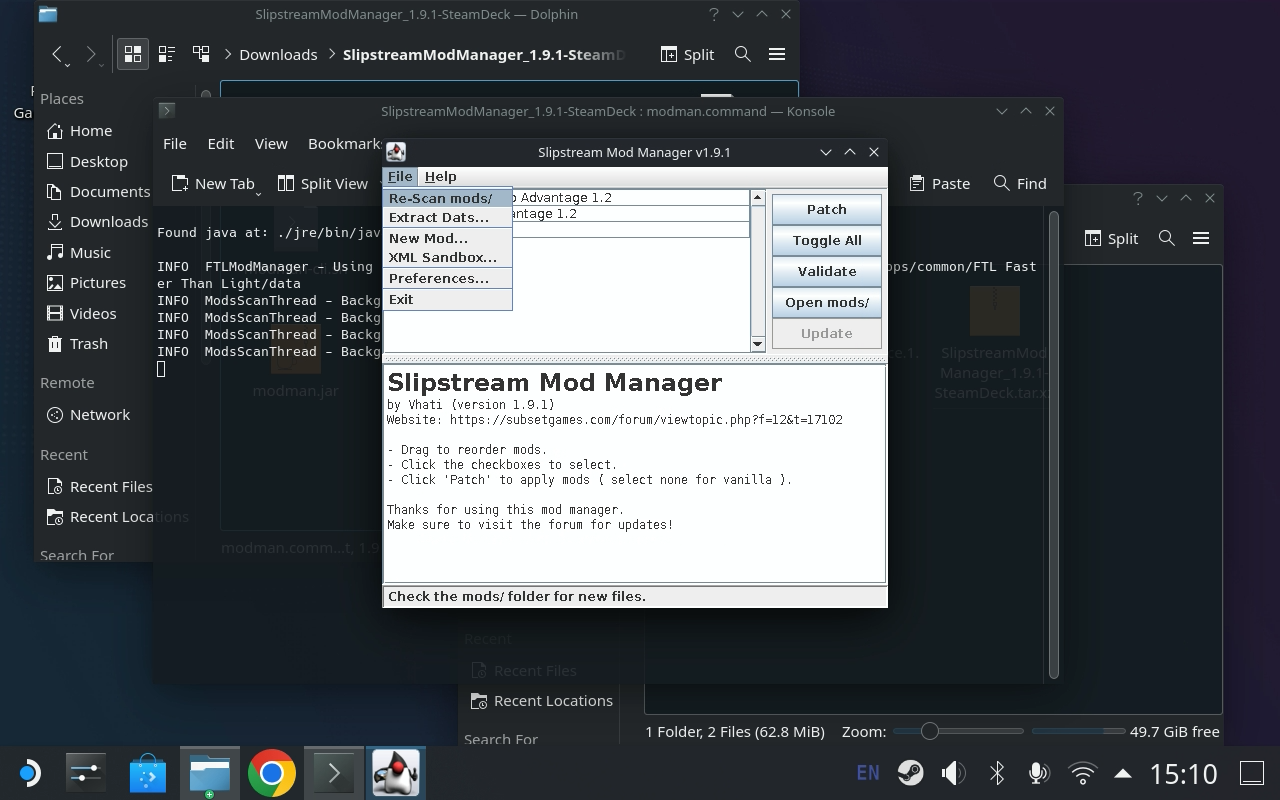
- Multiverse now shows up in the mods list
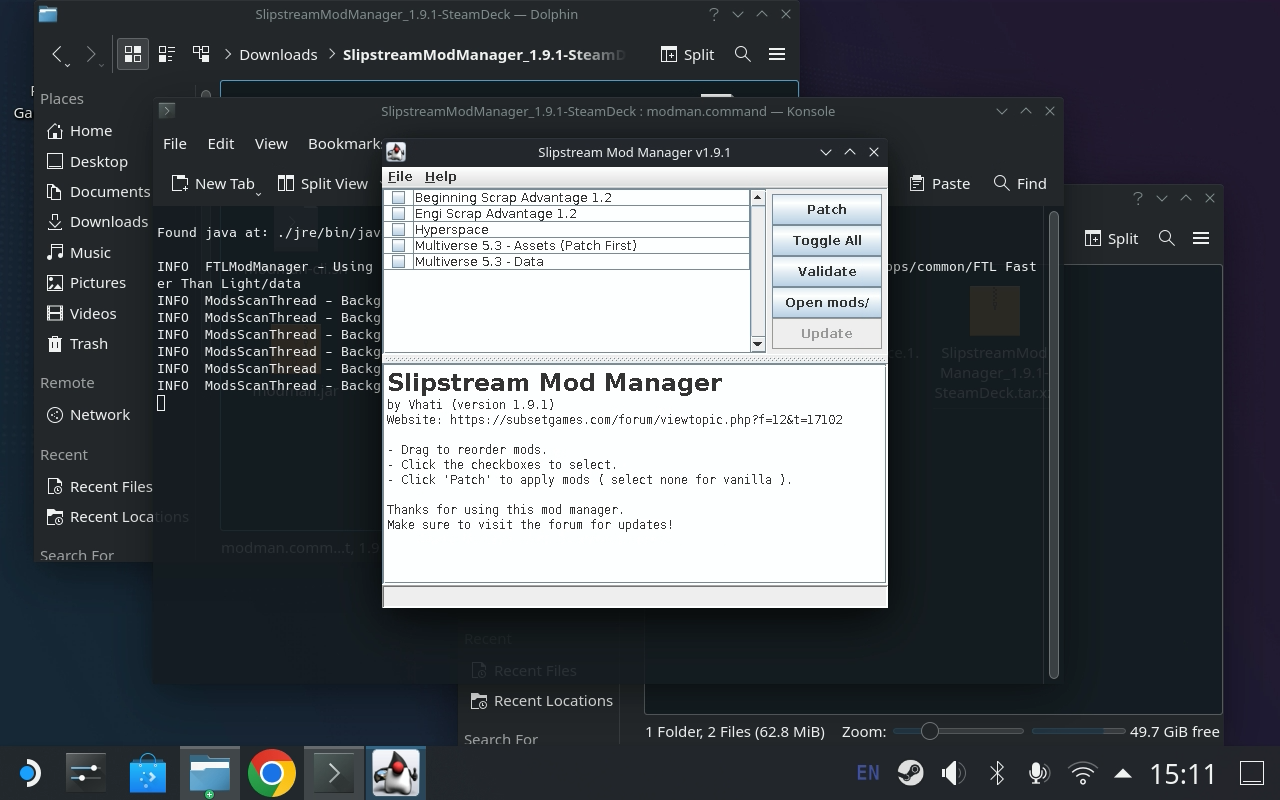
- Check both multiverse files but do not select
Hyperspaceexactly as shown here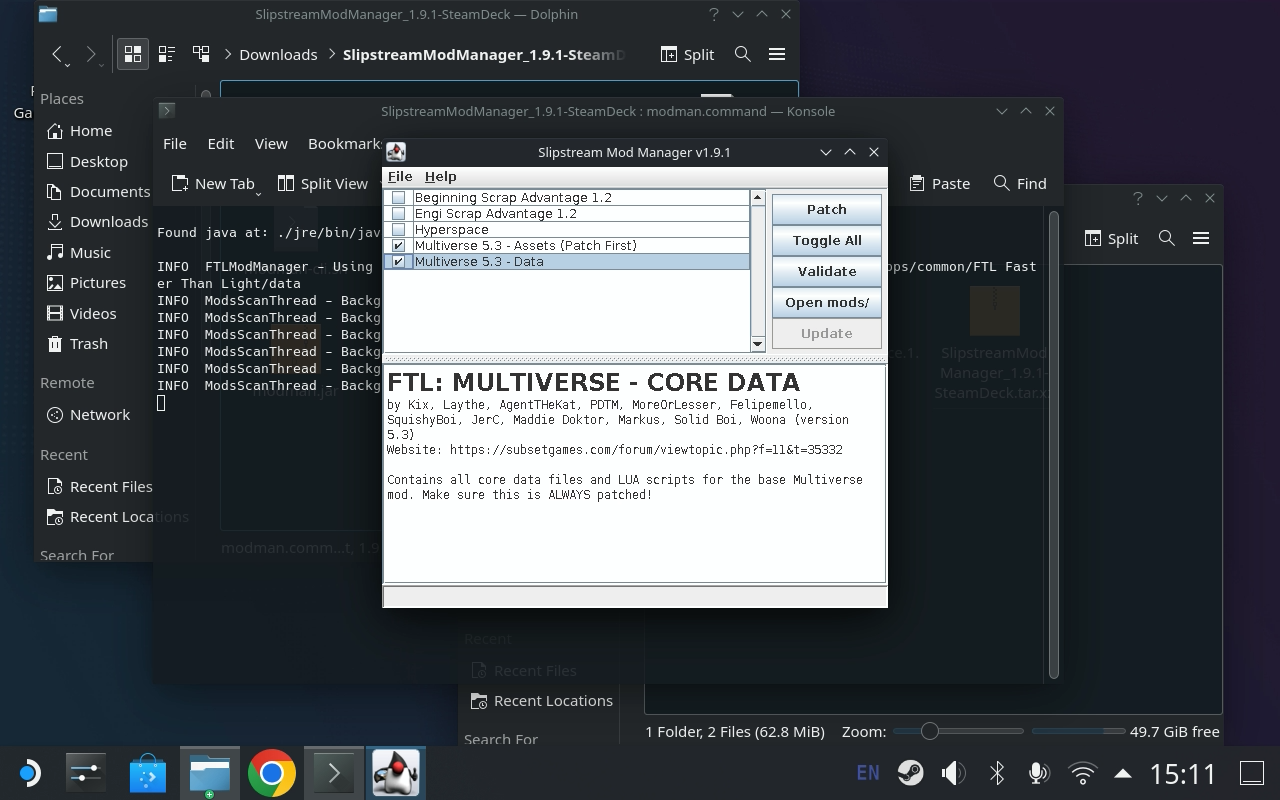
- Hit
Patch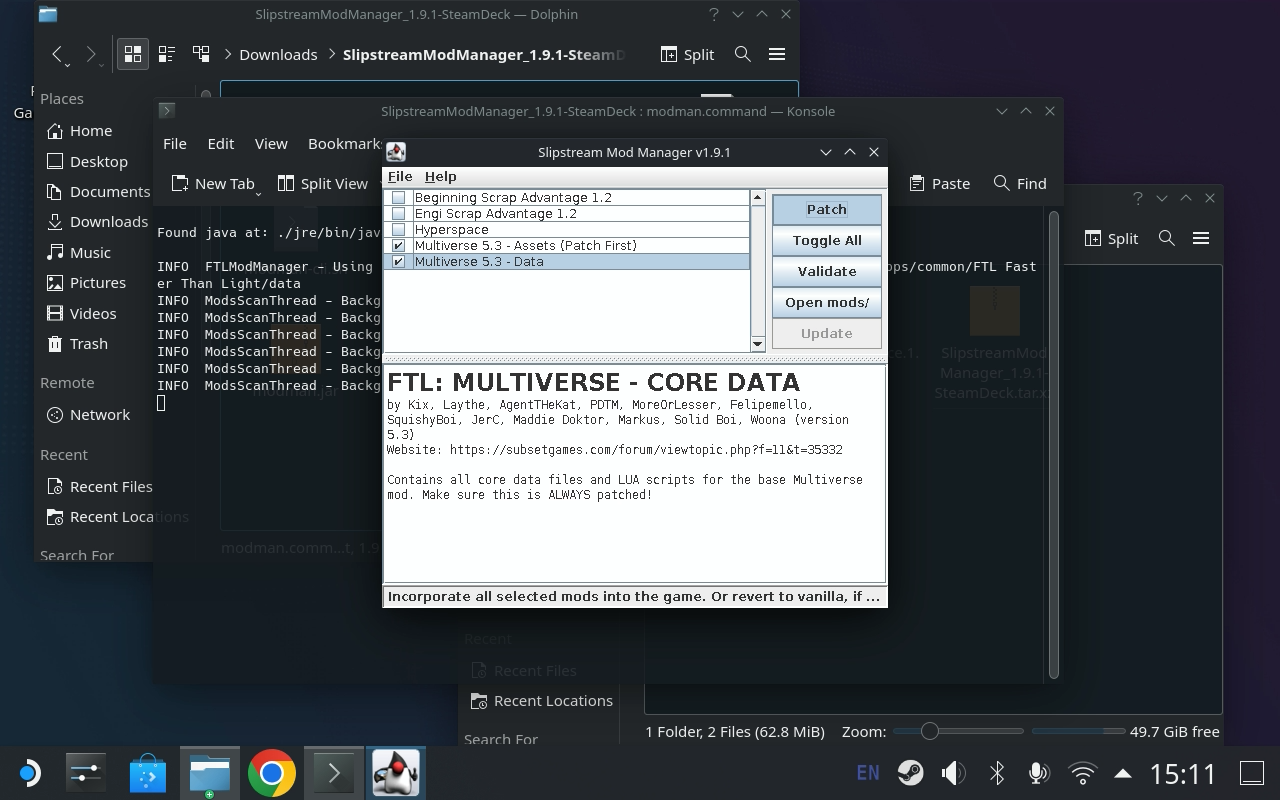
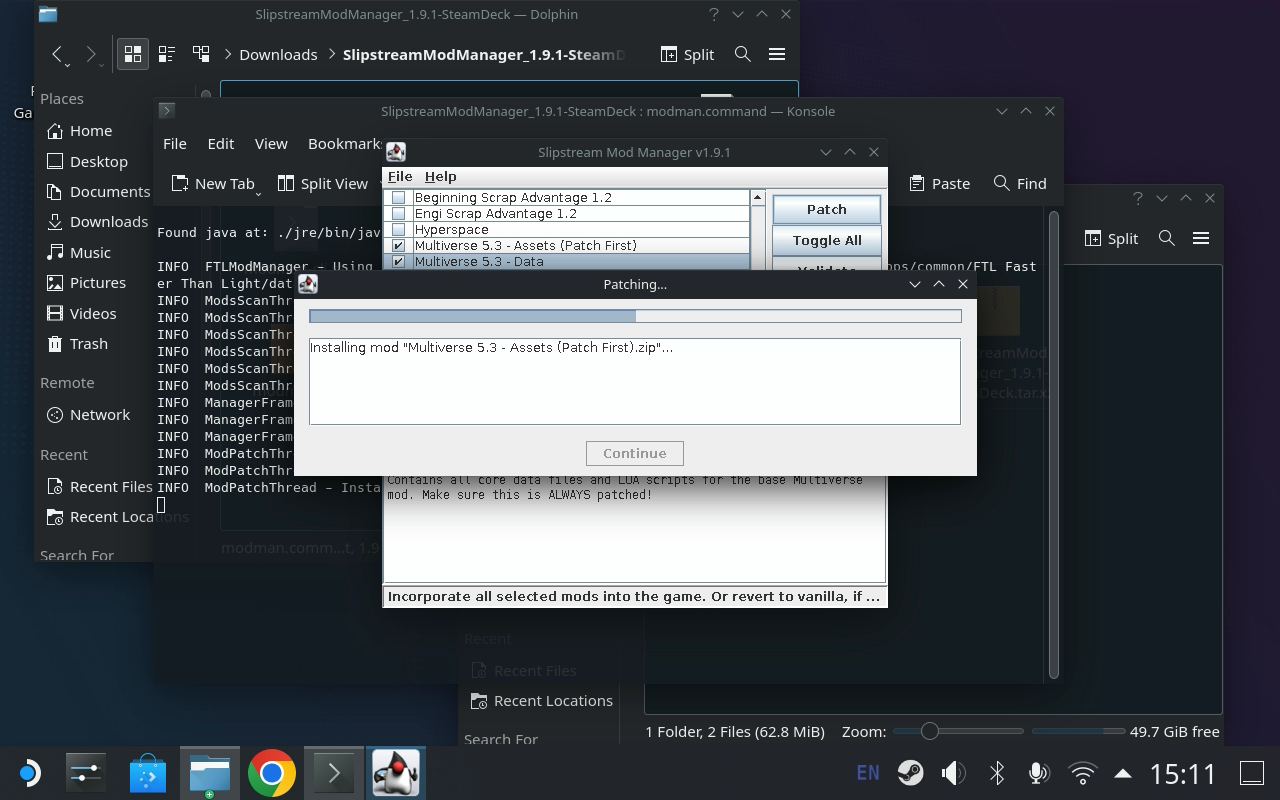
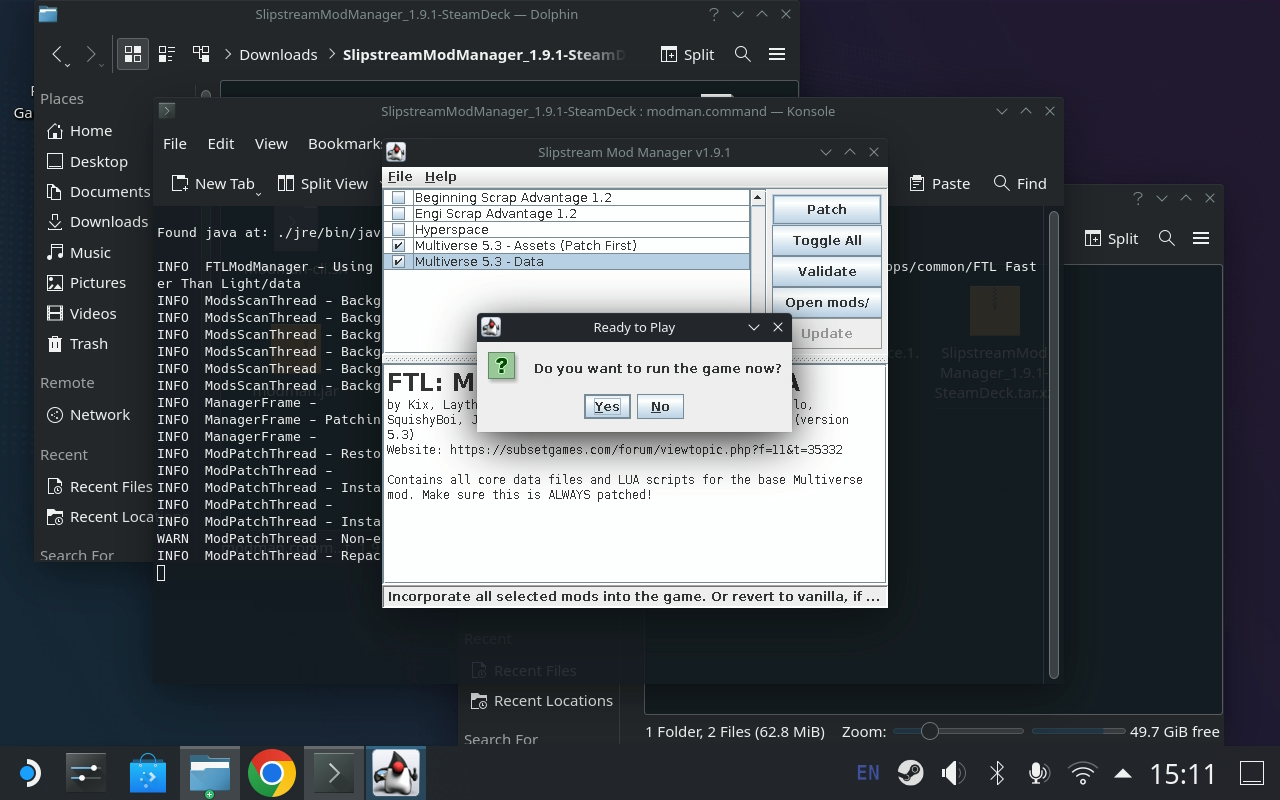
- If patching completed without error, you can launch the game here or from Steam (if you got an error in patching, download the zip files again you might have a corrupted download)
- First the game loading should show up like this

- After a short amount of time you should see
HS-x.x.x x64in the upper right indicating the version of hyperspace that is loaded correctly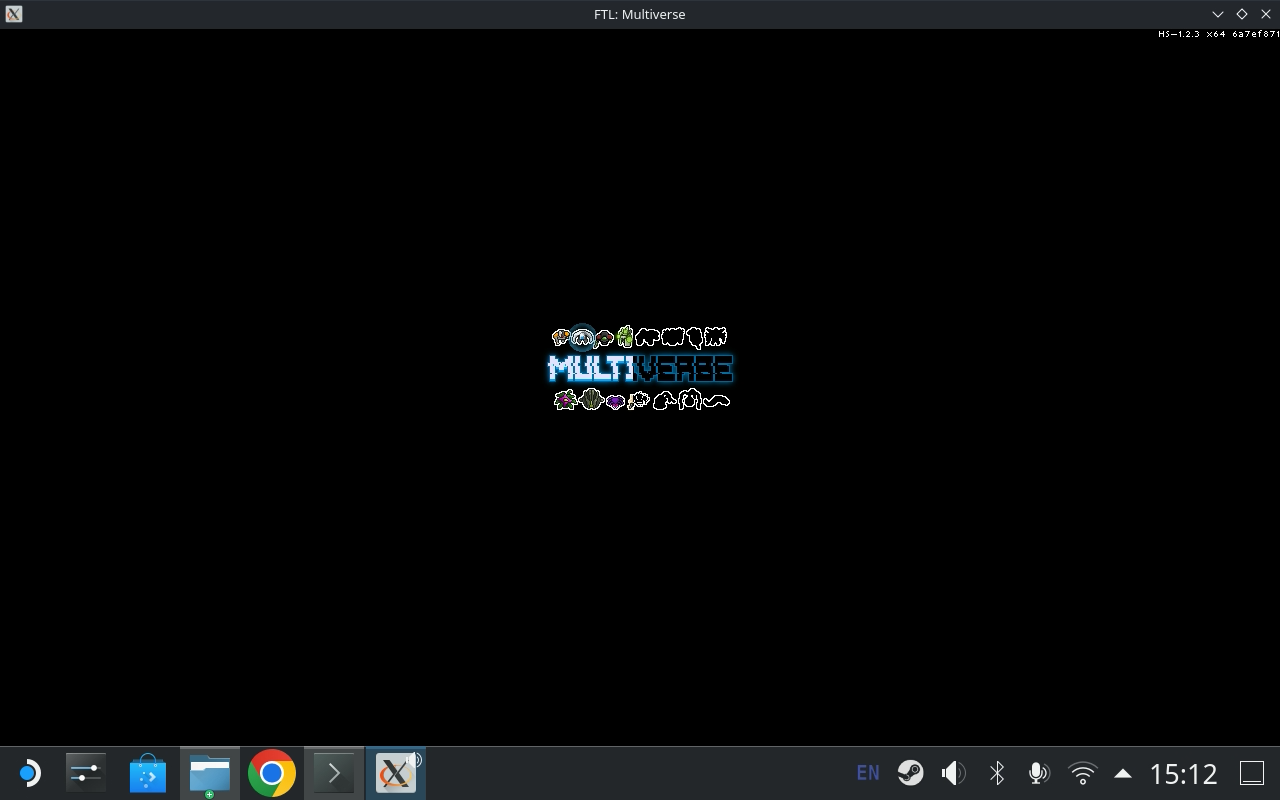
- Enjoy the game